Registration
Welcome to the guide on how to register your company on CryspIQ. Follow these instructions to successfully complete the registration process and get started with CryspIQ.
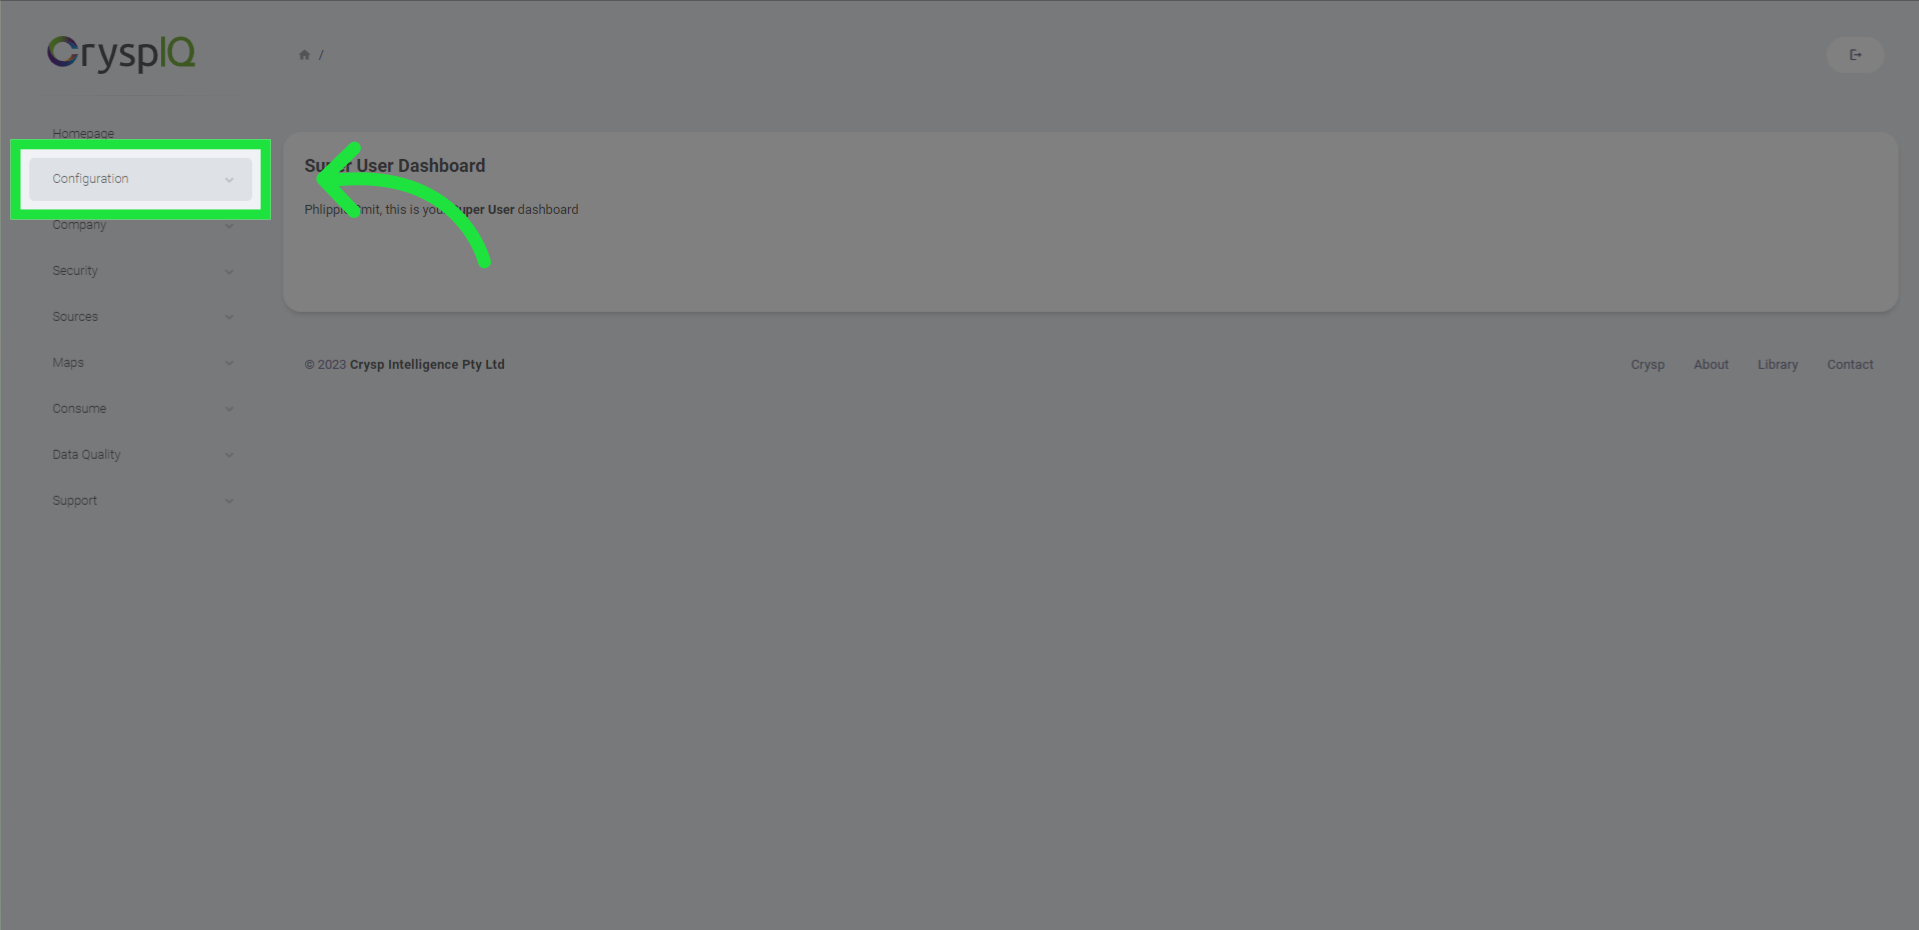
1. Click on the "Configuration" menu item
First click on the "Configuration" button to expand the menu.
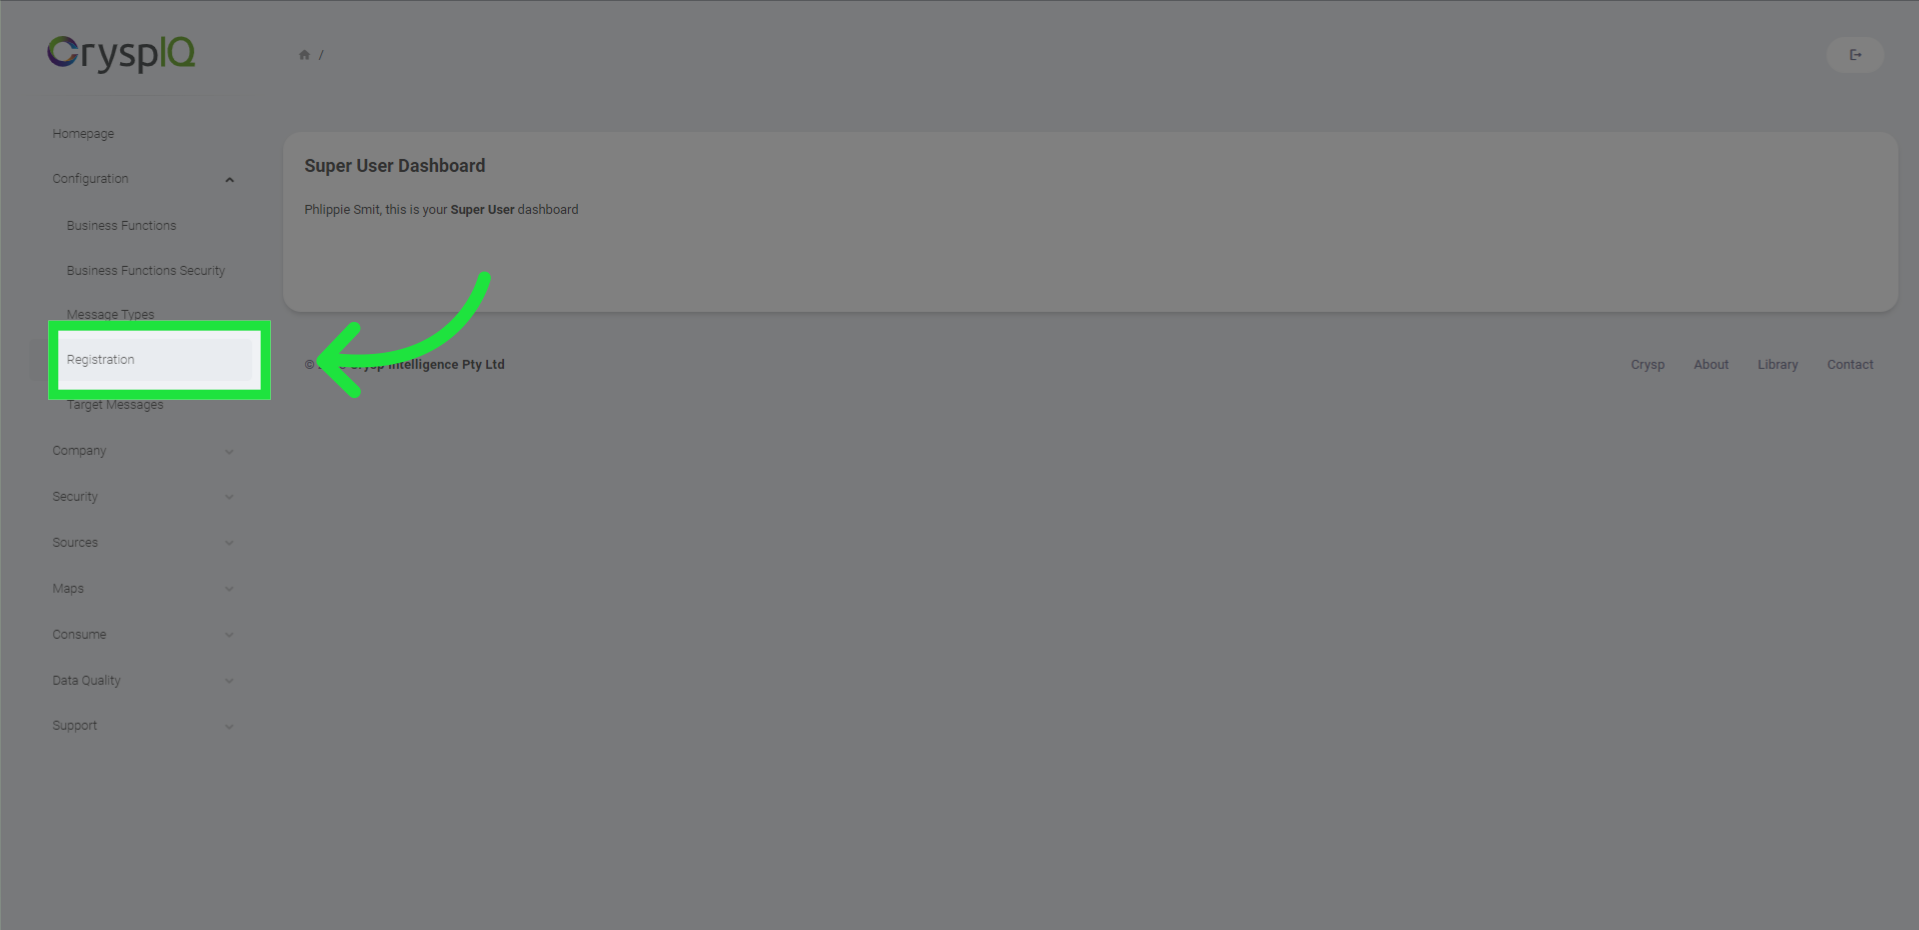
2. Click "Registration"
Next, click on the "Registration" option.
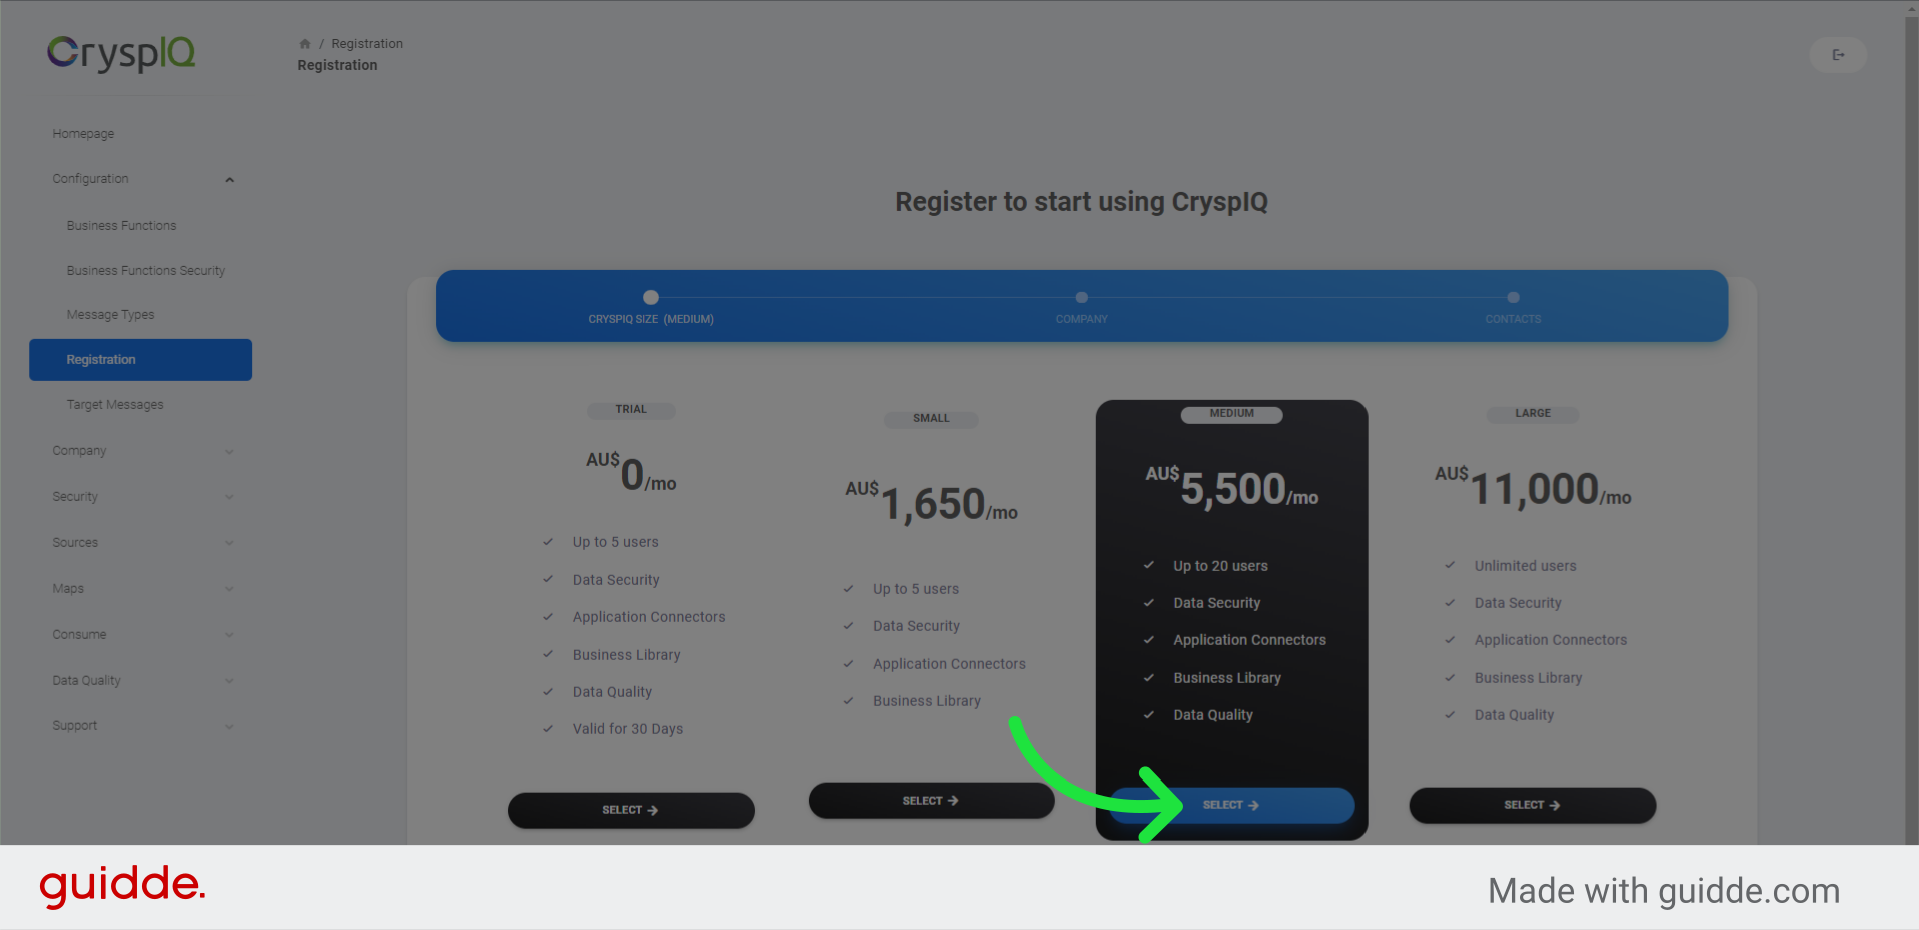
3. Select an option
Then select the product option that best meets your requirements, after which you need to click on the "select button"
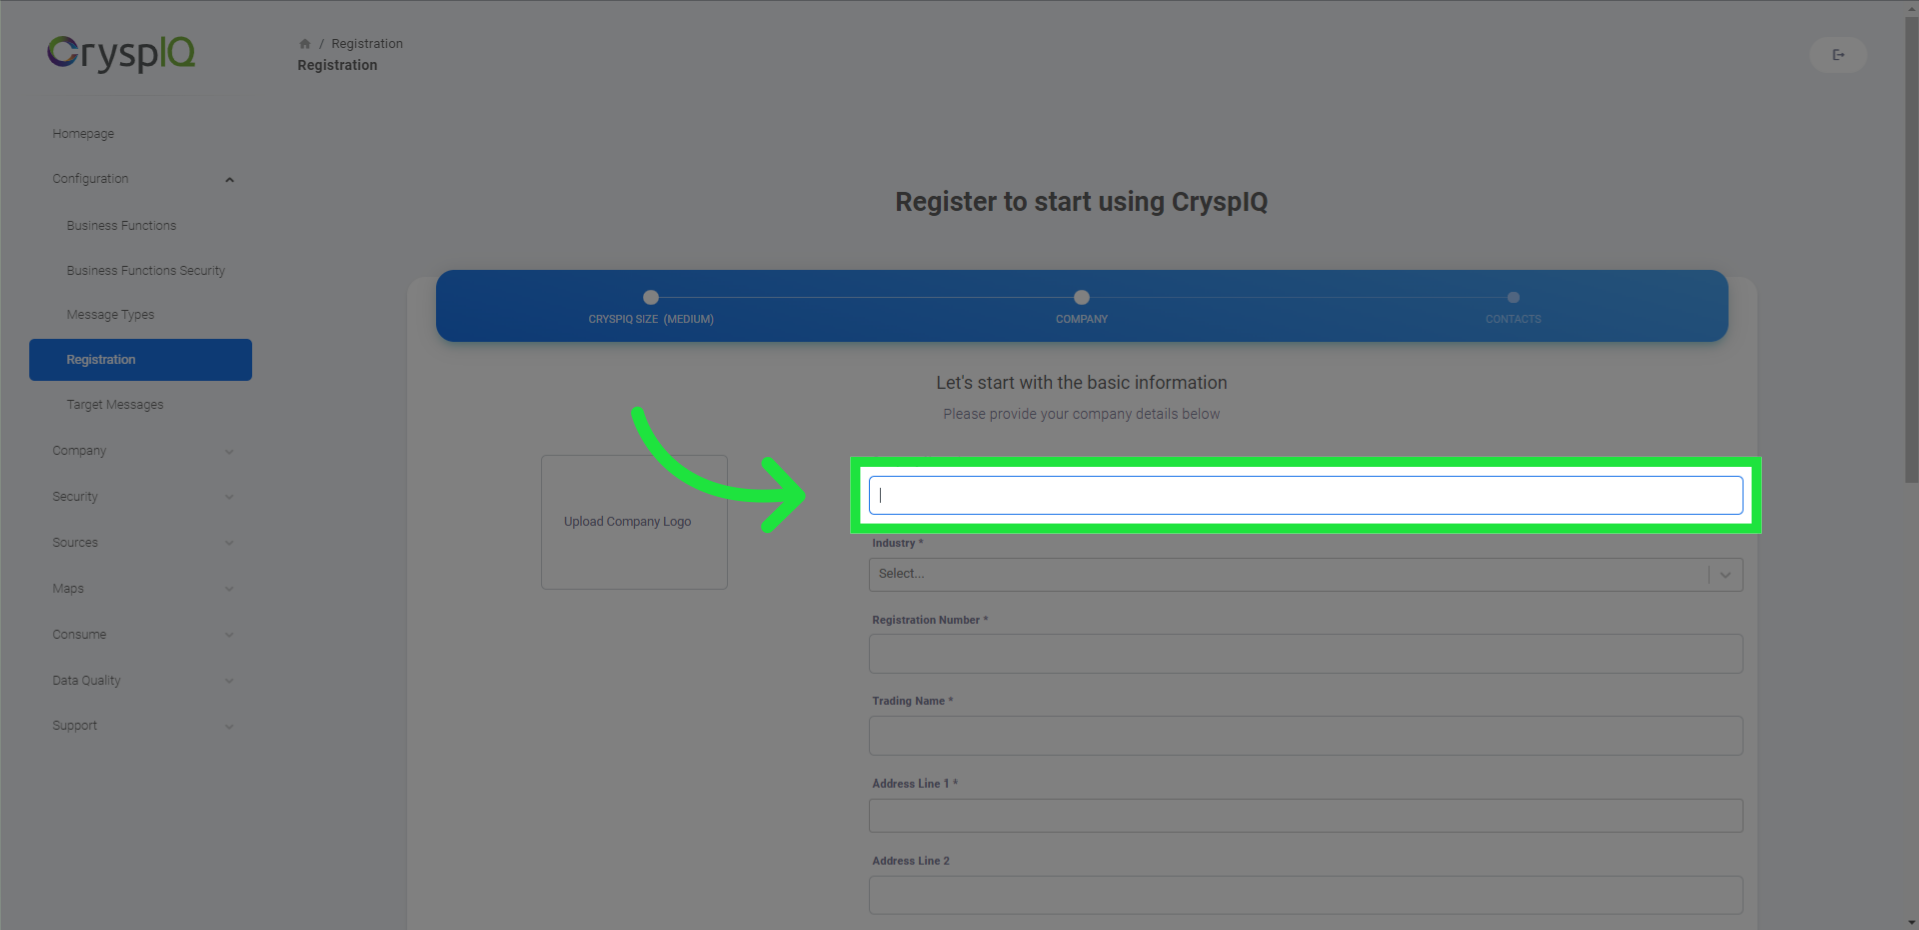
4. Enter business name
Now, you need to enter your registered business name
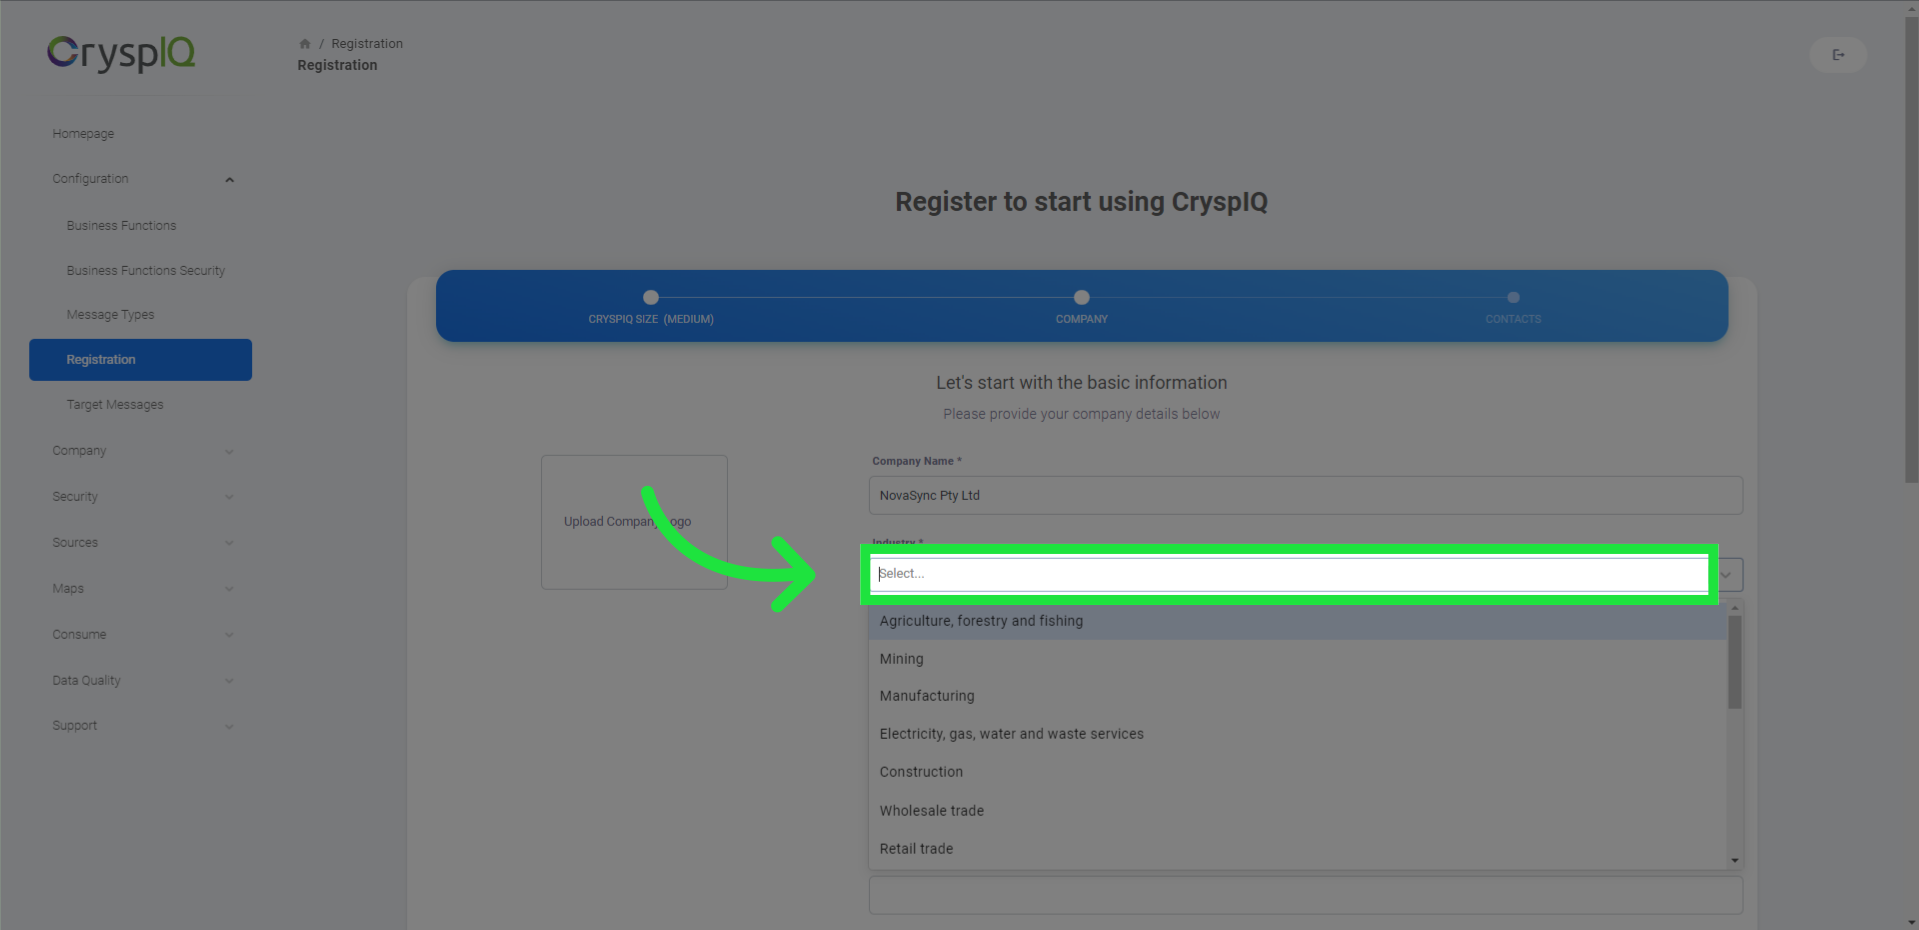
5. Select the industry you work in
and select the industry you work in
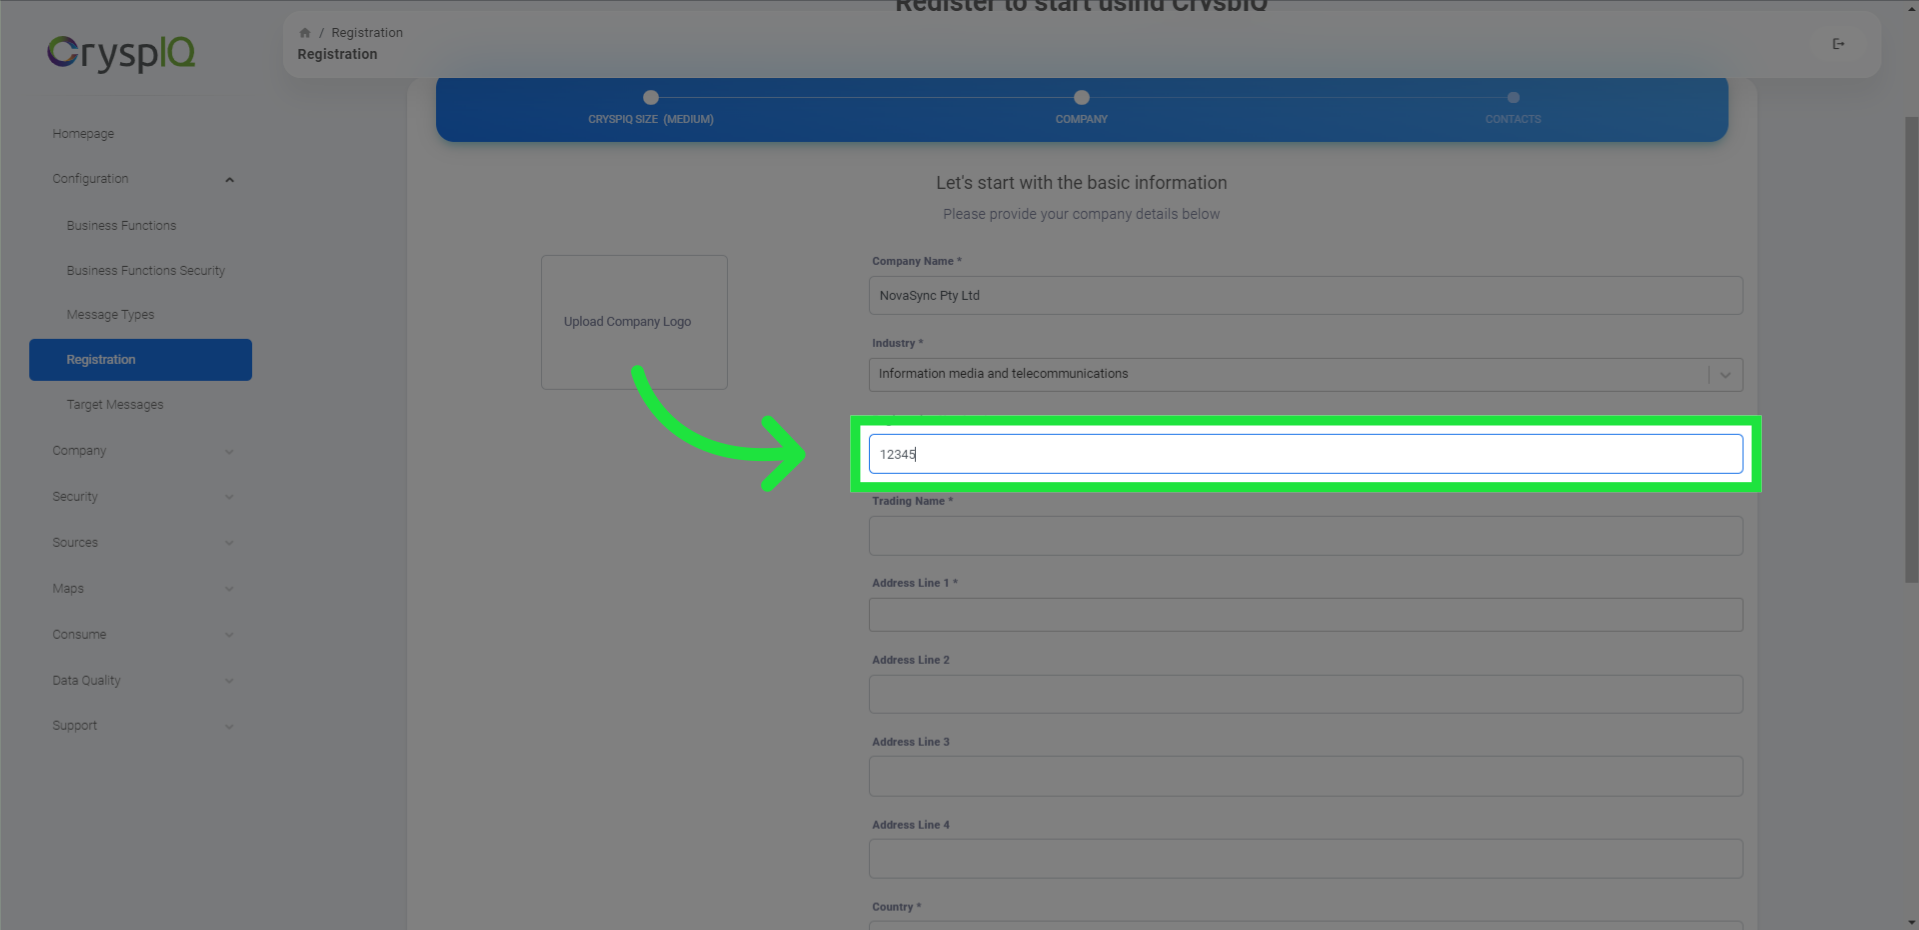
6. Enter your business registration number
as well as enter your business registration number.
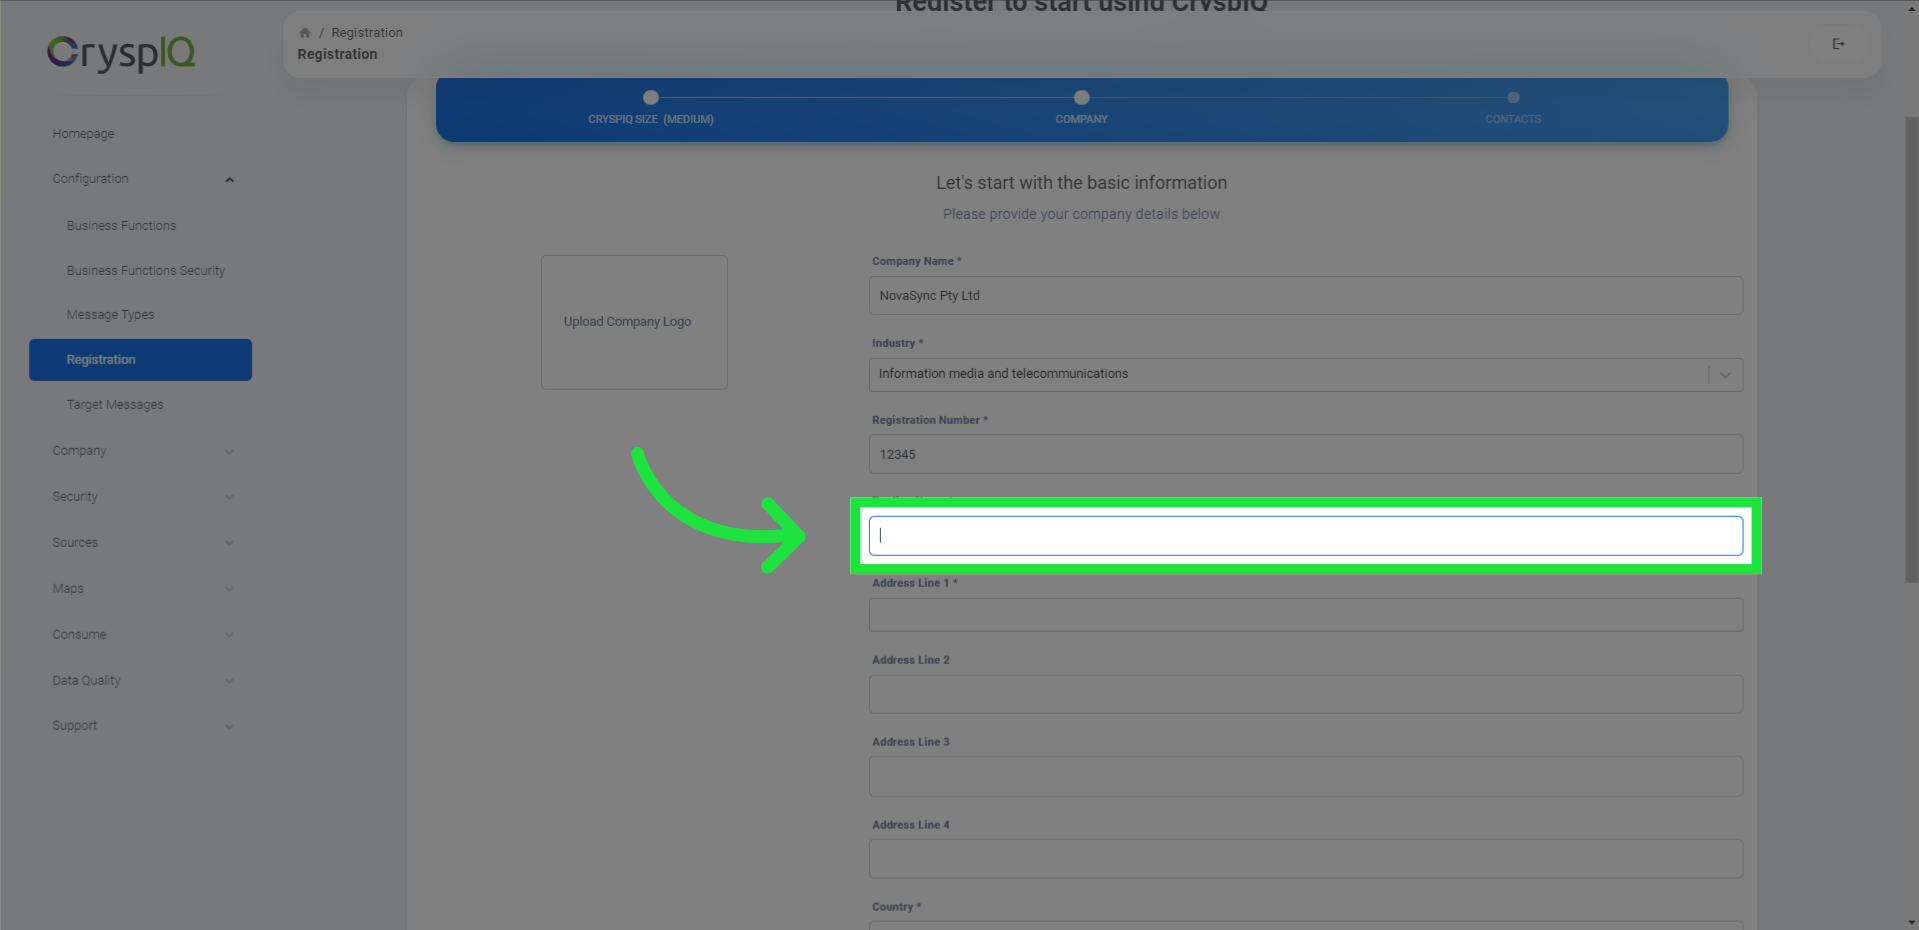
7. Enter your business trading name
Now we also need your business trading name. If this is the same as your registered company name, just copy it from the value you entered earlier.
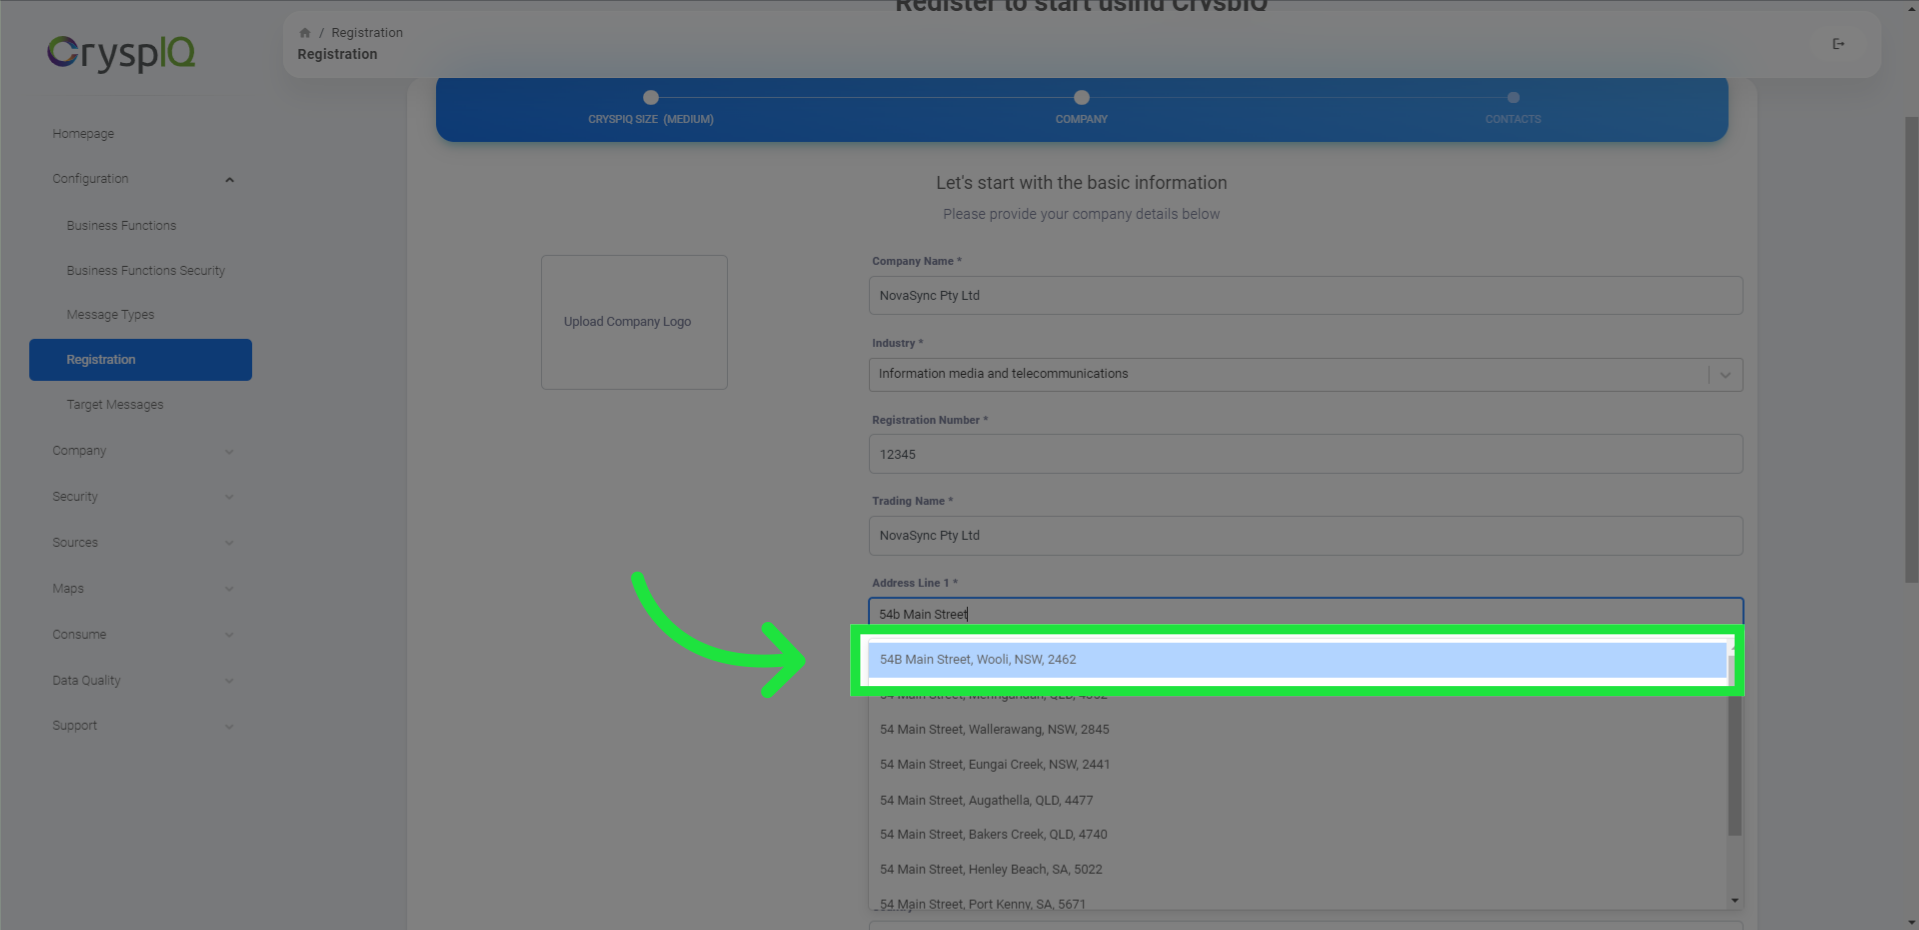
8. Enter your address
The next step is to enter your street address. The address you enter will be looked up to get other address information like suburb, city, and postal code.
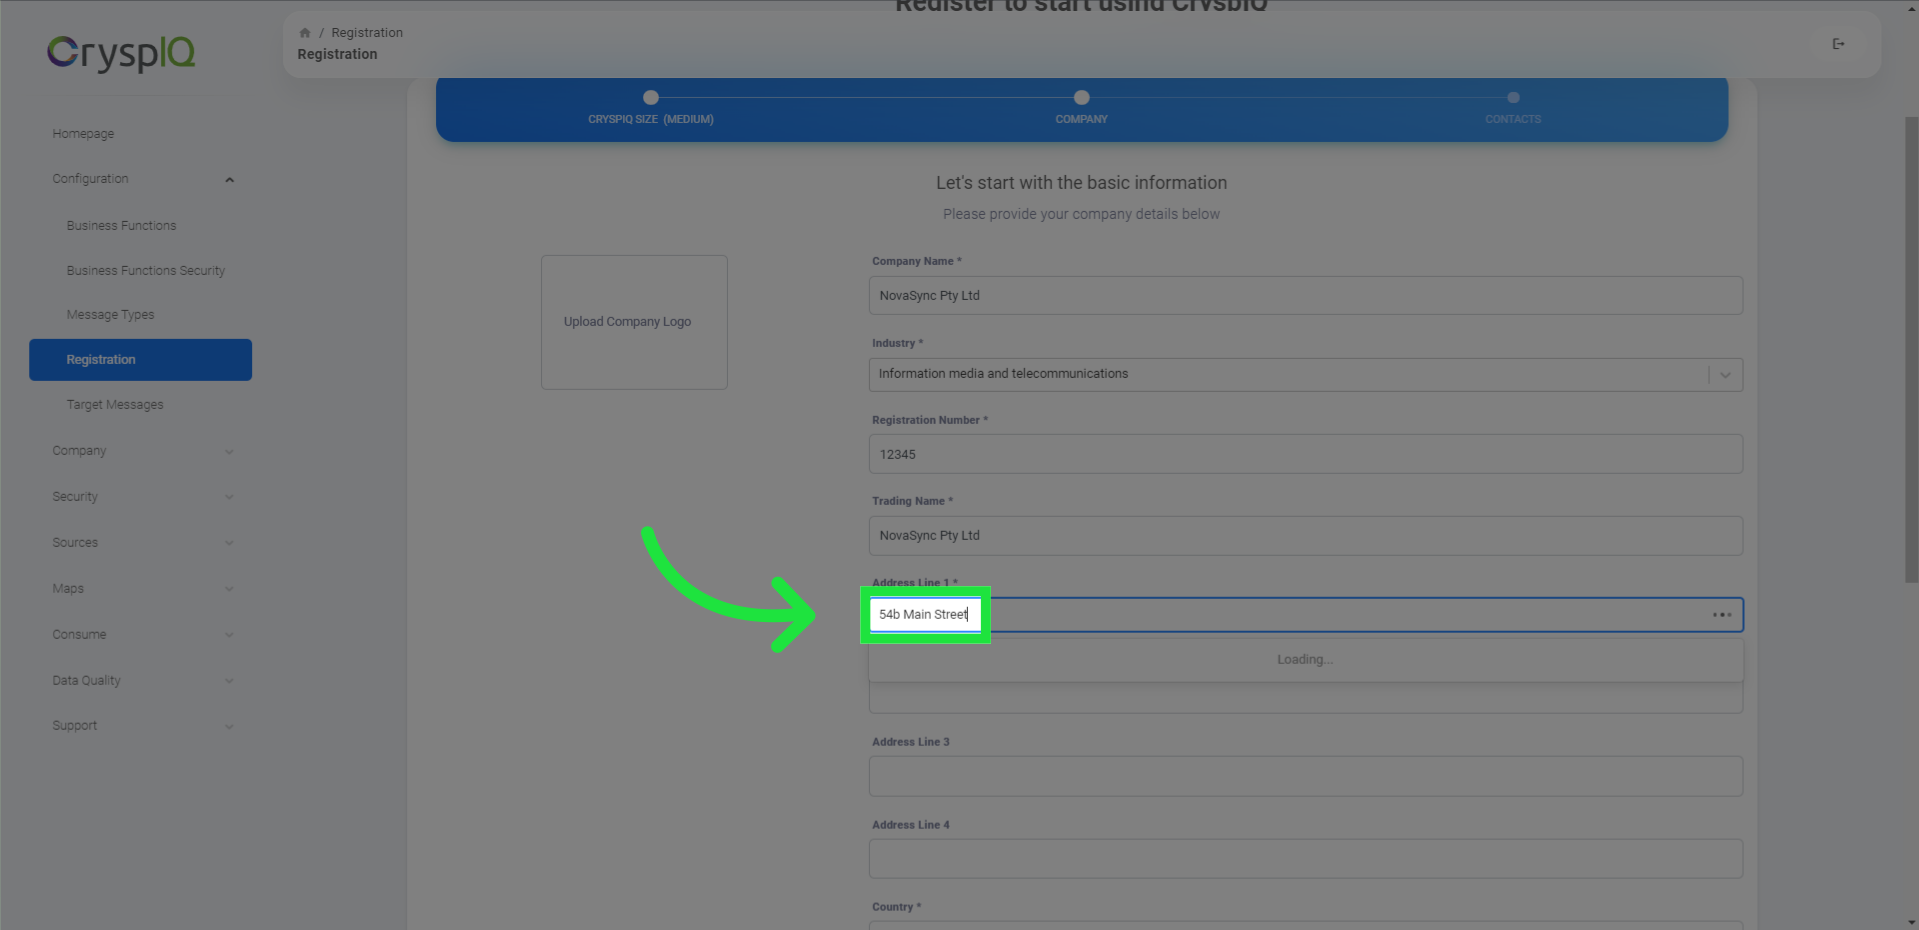
9. Addresses are looked up. Select your address from the list
Whilst you are typing, a list of addresses will start showing. Select your address from the list to automatically populate the rest of the address fields.
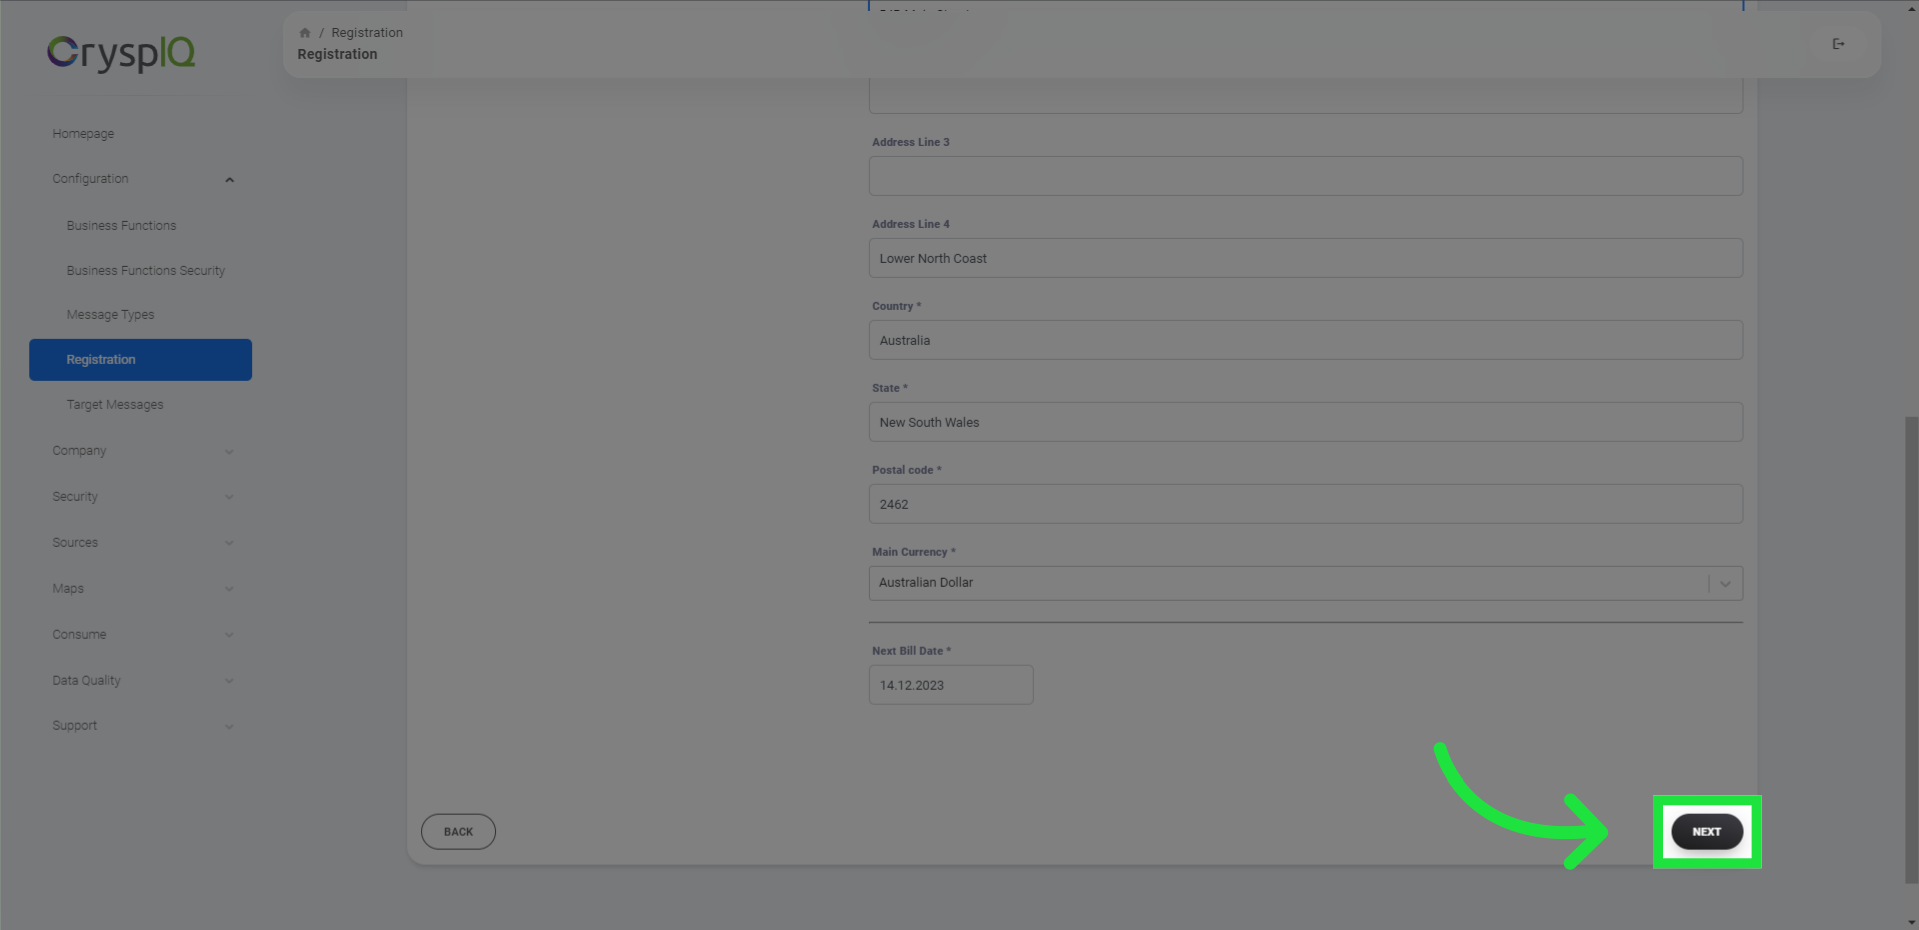
10. Click "next"
We have now collected most of the information we require. Click on the "next" button to get started with users.
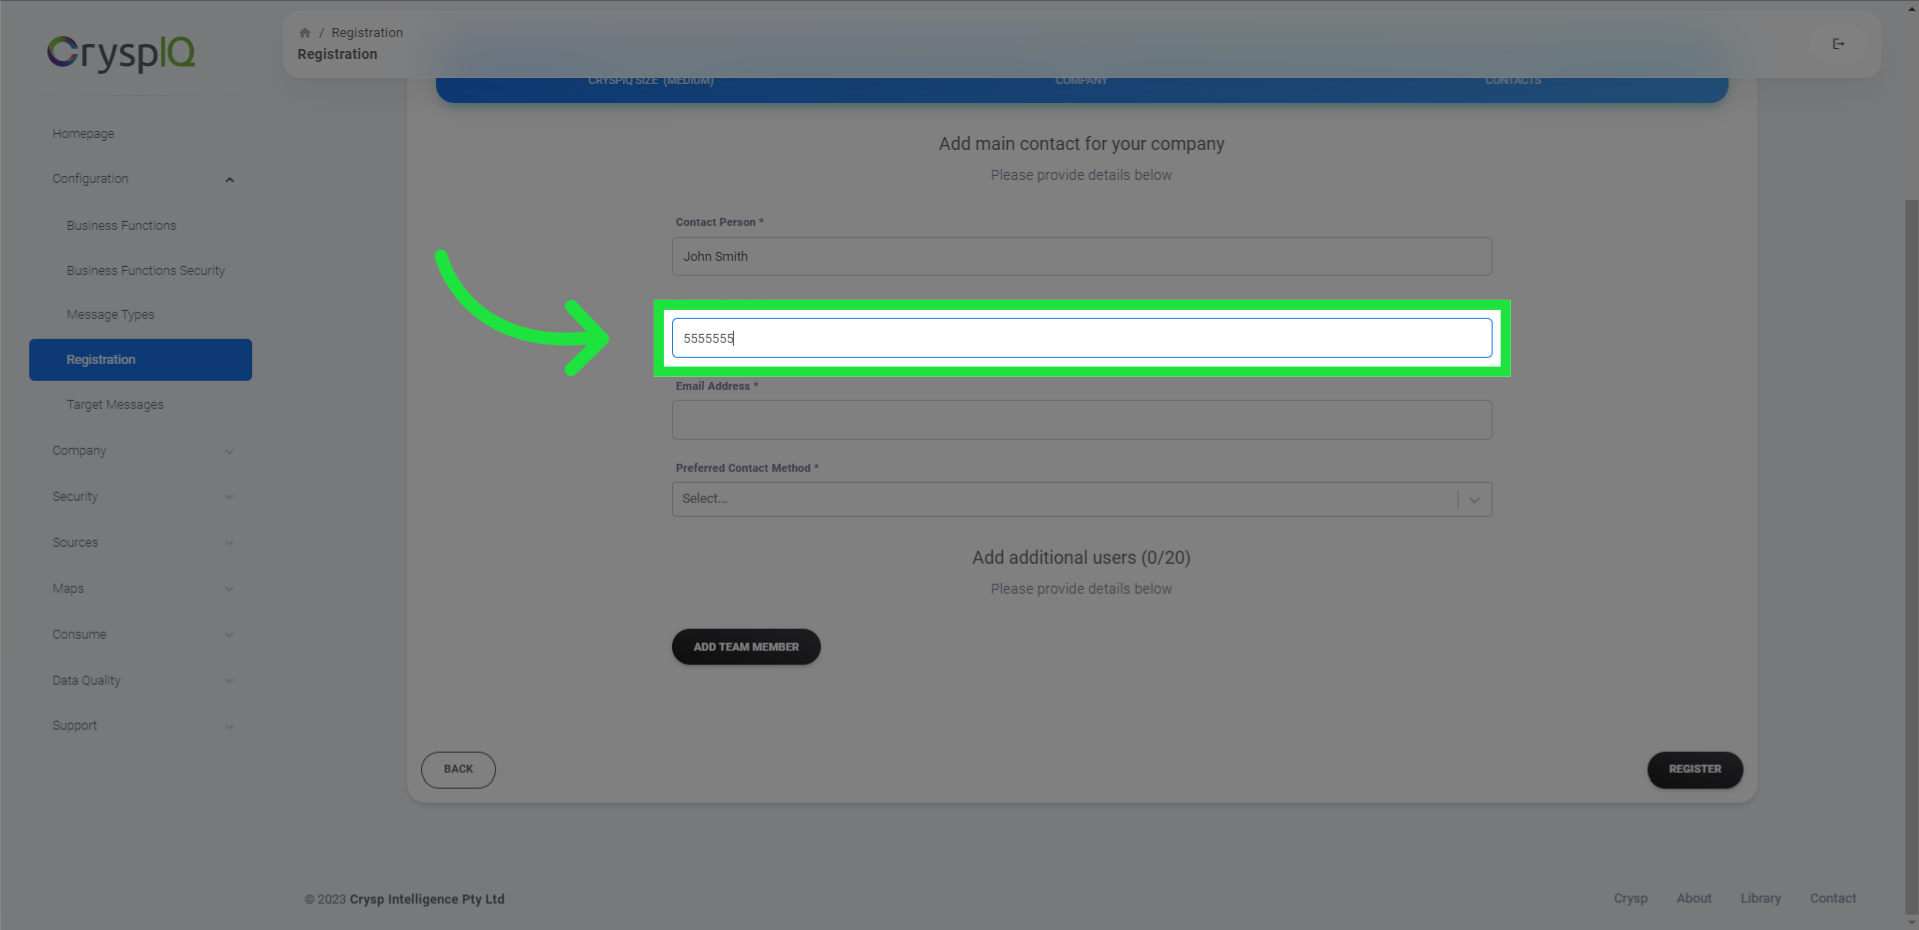
11. Enter the name and surname of your main user
First enter the name and surname of your main user. This is the user that will be your companies main contact with CryspIQ.
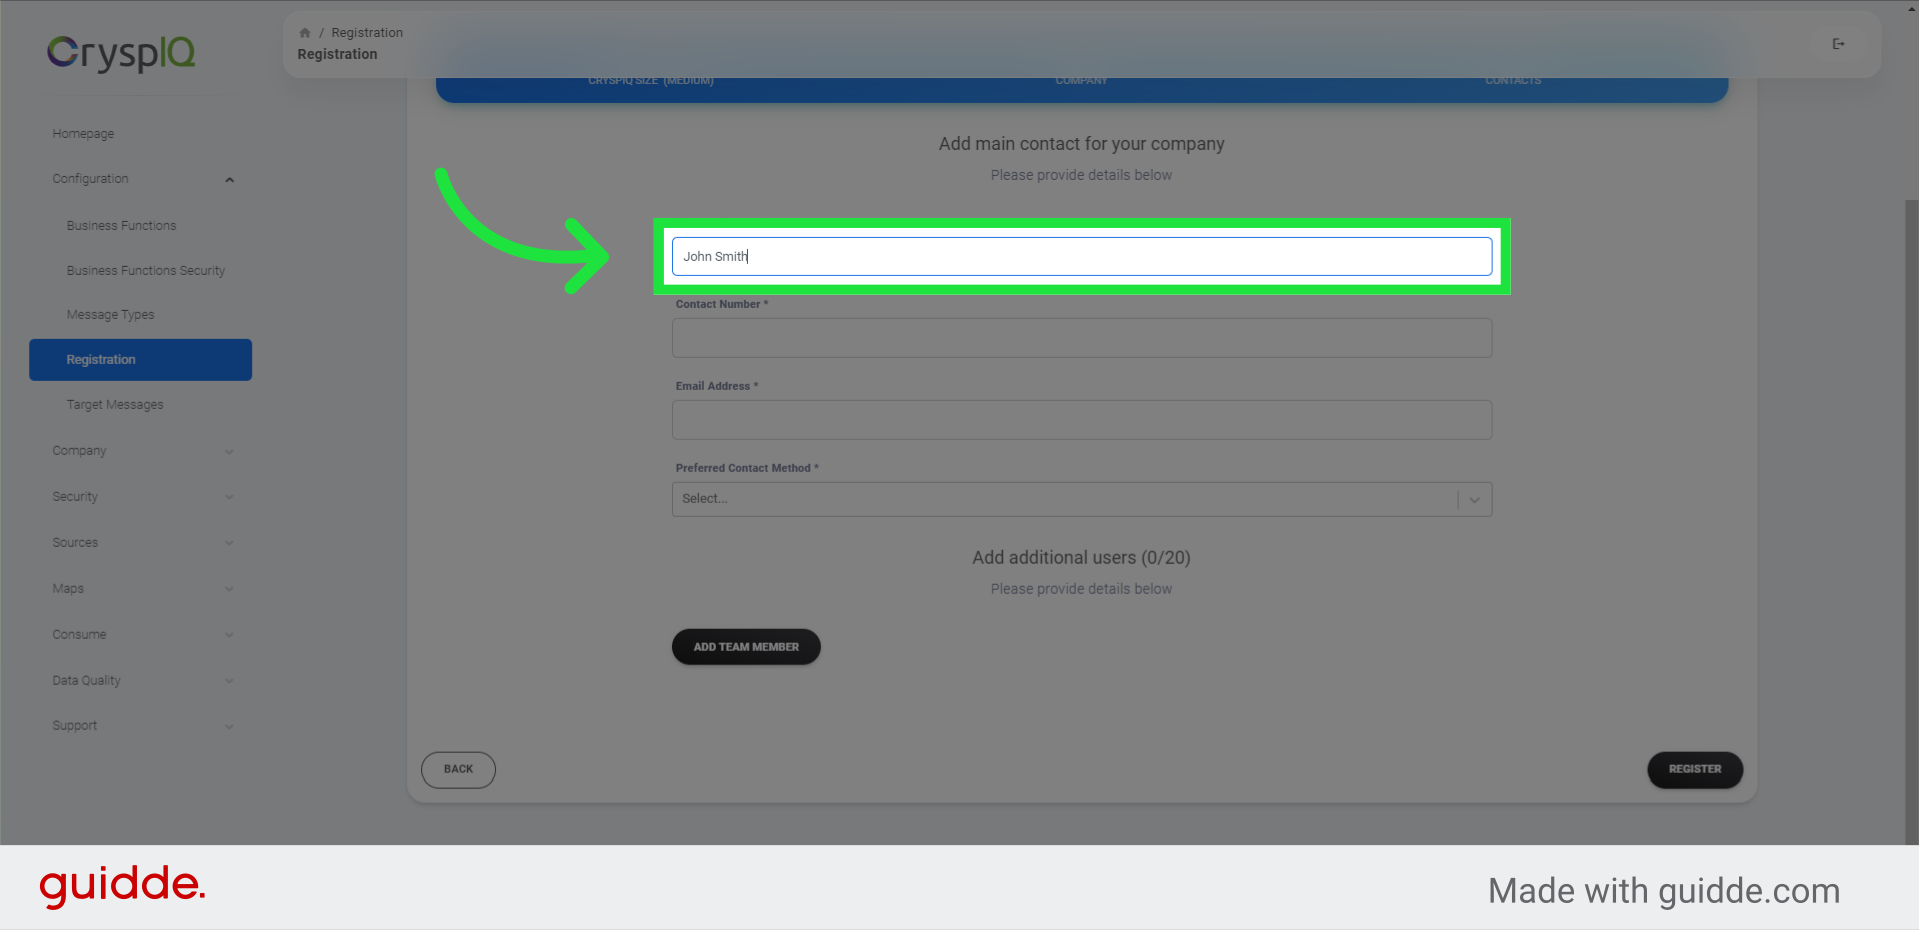
12. Enter the contact number for this user
then enter the contact telephone number for this user
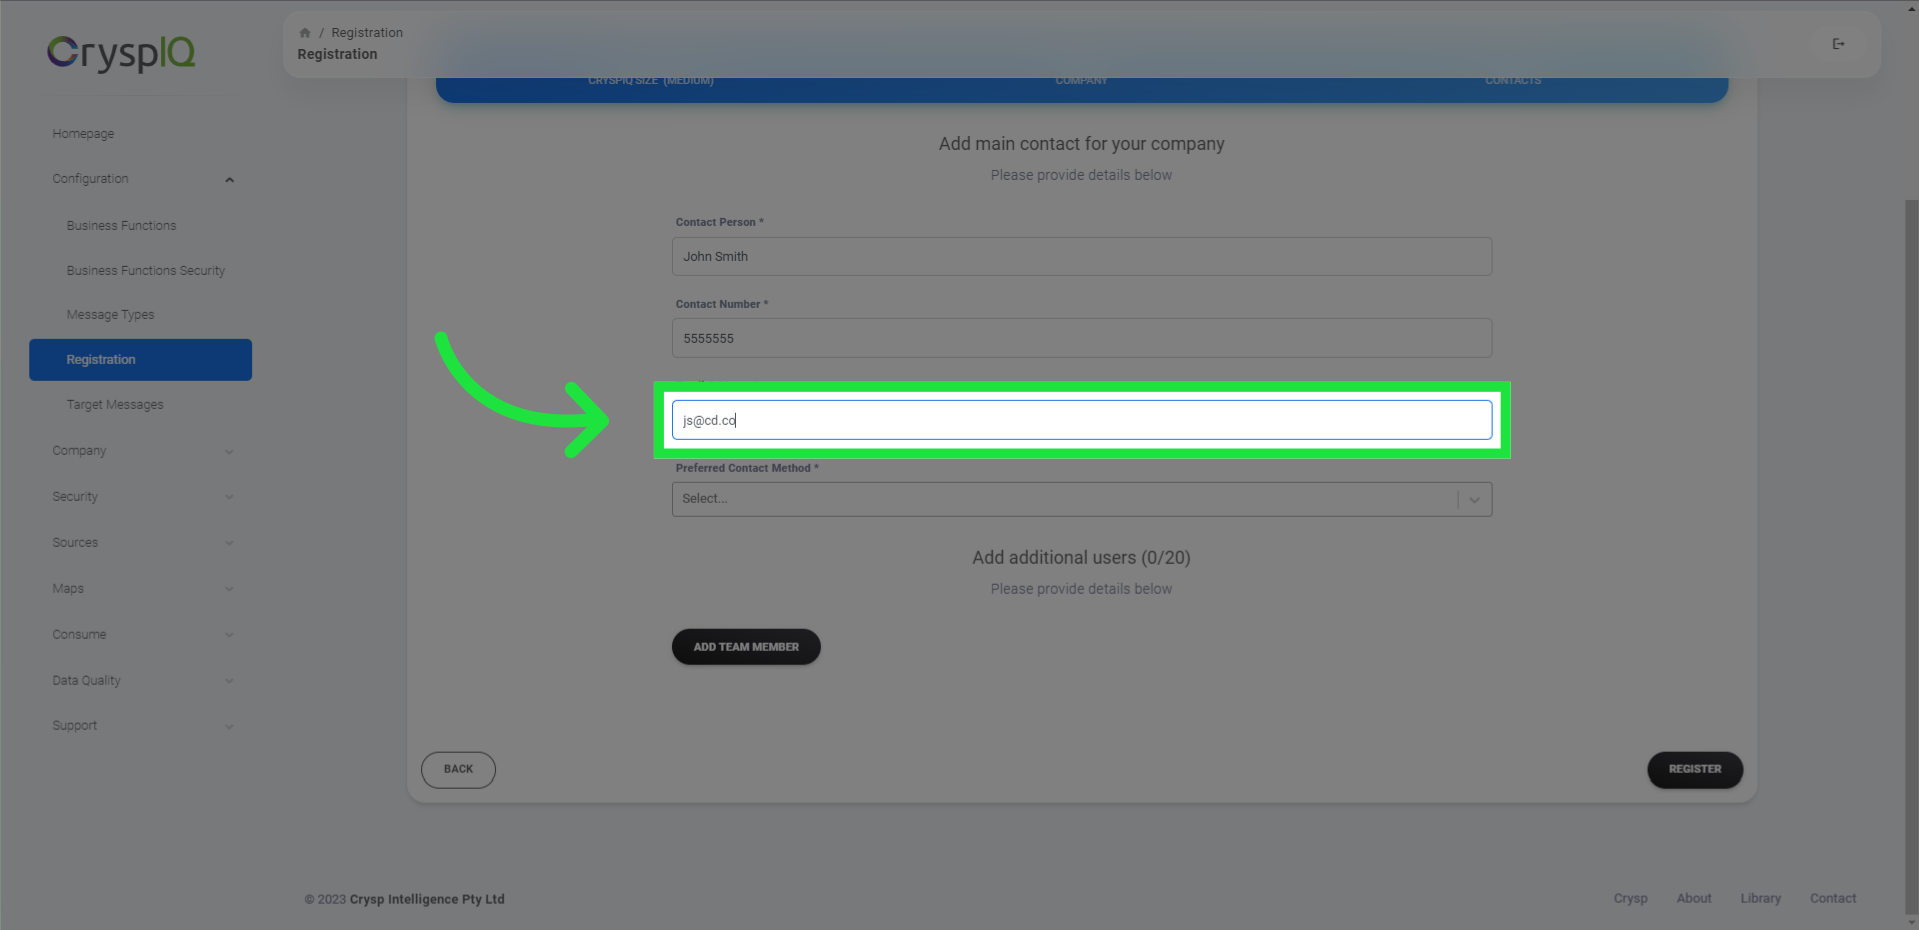
13. Enter the email address for this user
Also provide an email address for the main user
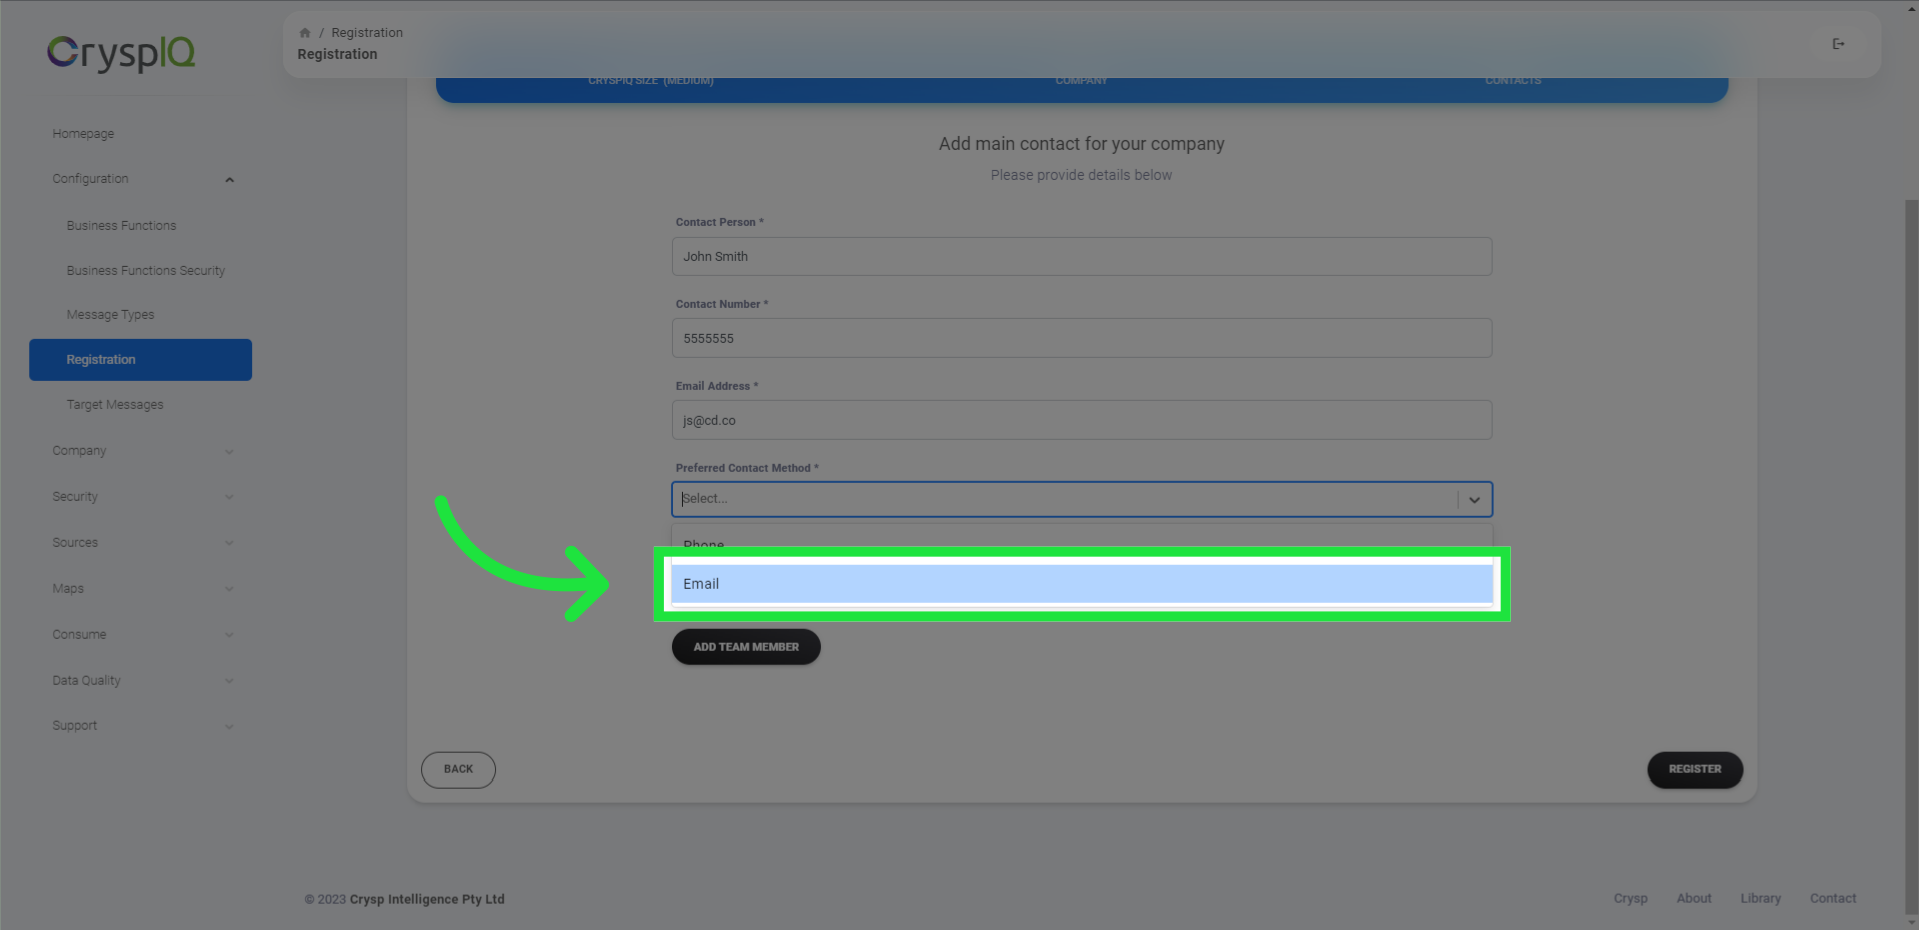
14. Select prefered communication method
Lastly, select the prefered communication method: email or telephone for the main user.
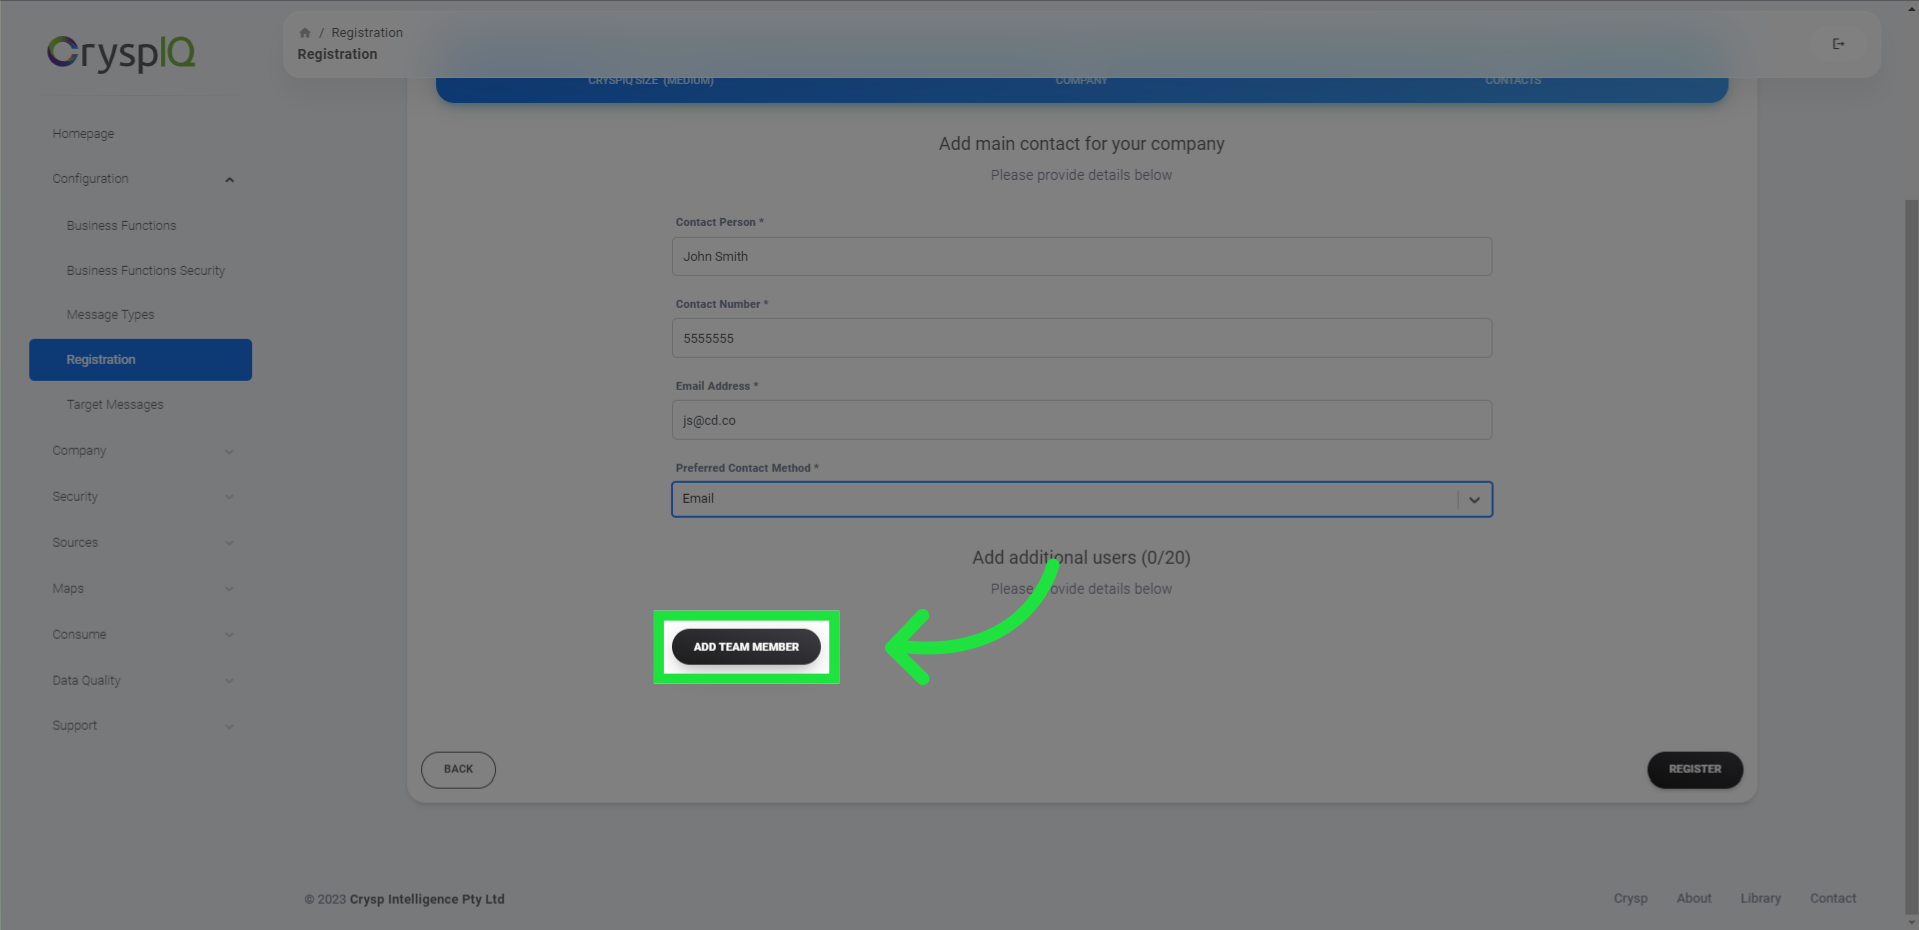
15. Click "Add Team Member" to add more users now
If you would like to add more team members now, click "Add Team Member"
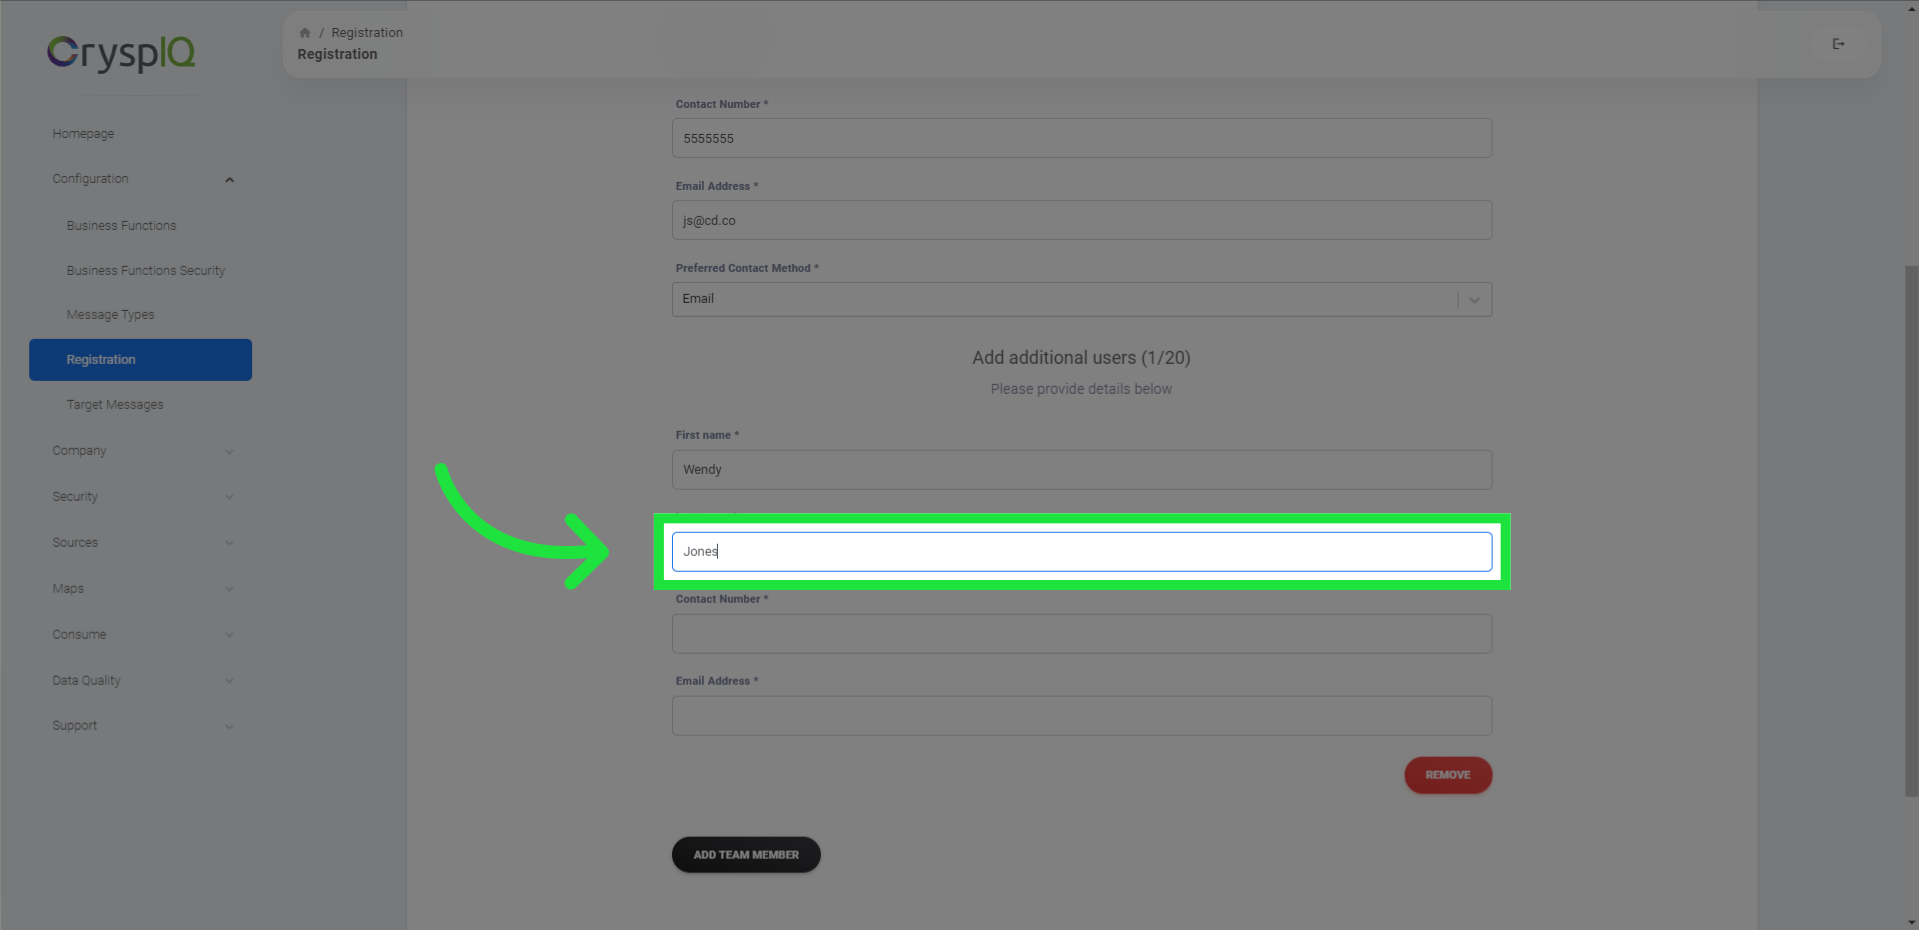
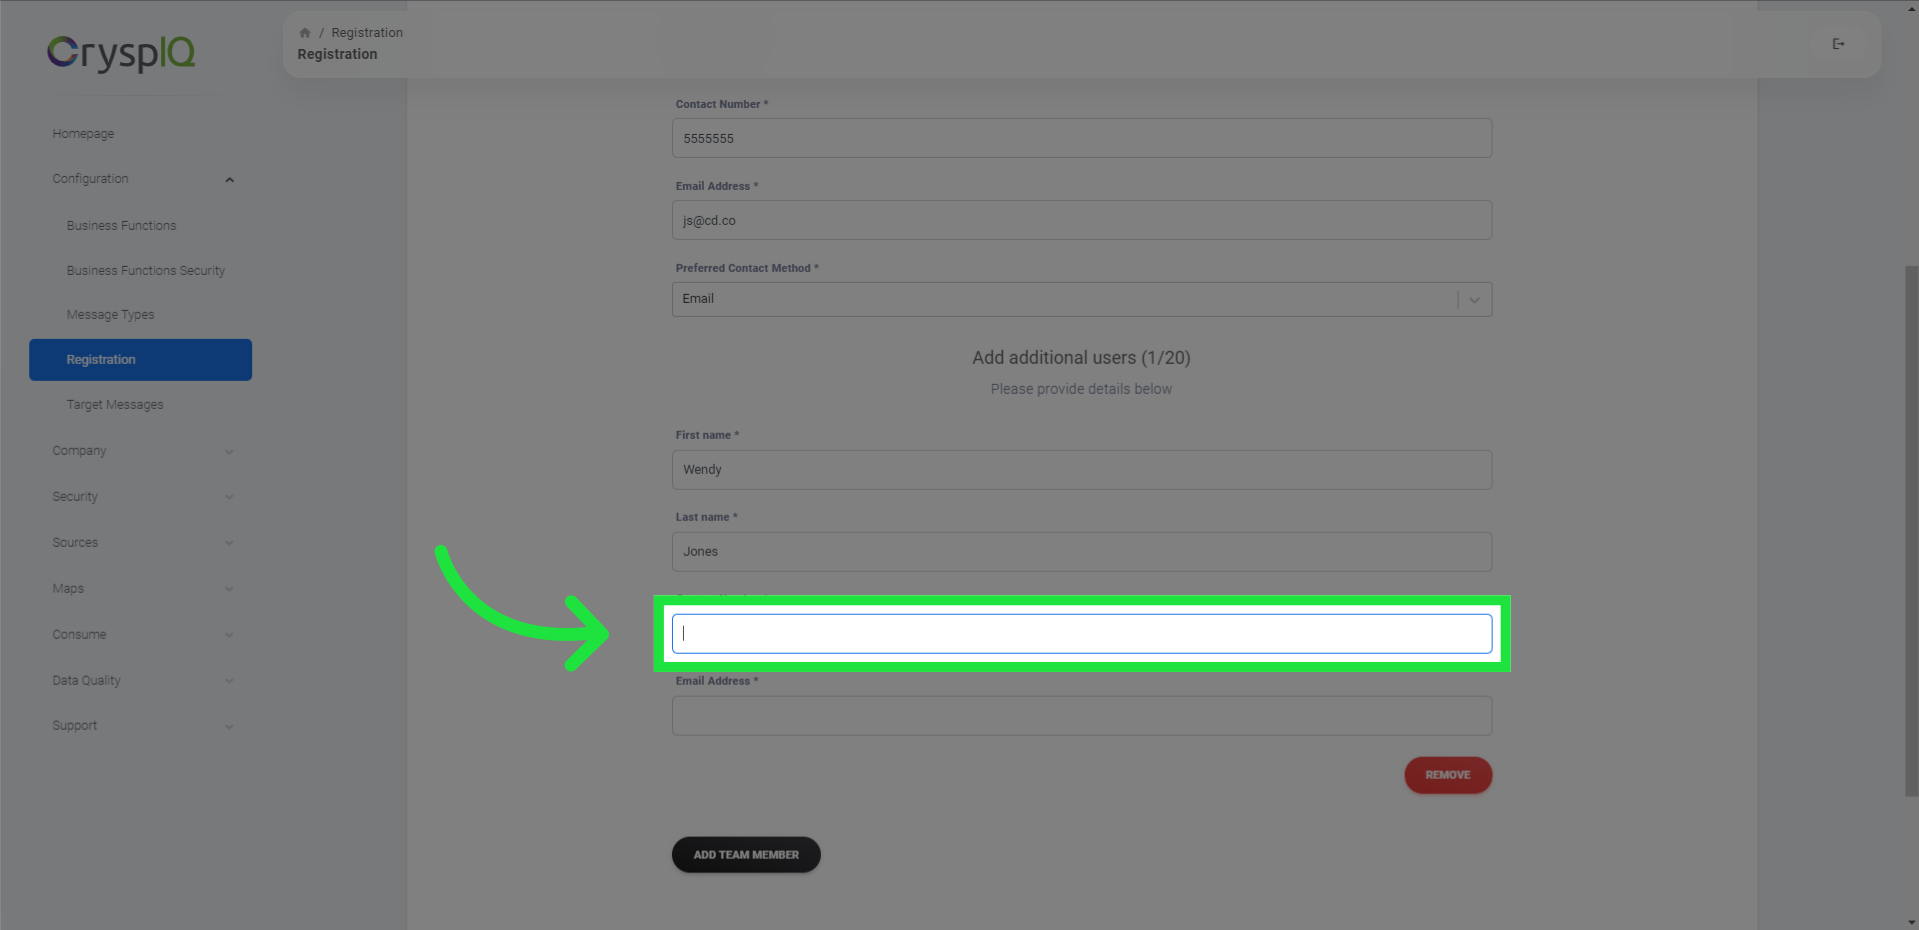
16. Enter the name and surname for each user
First enter the name and surname for each user
17. Enter a contact number for each user
then enter a contact number for each user
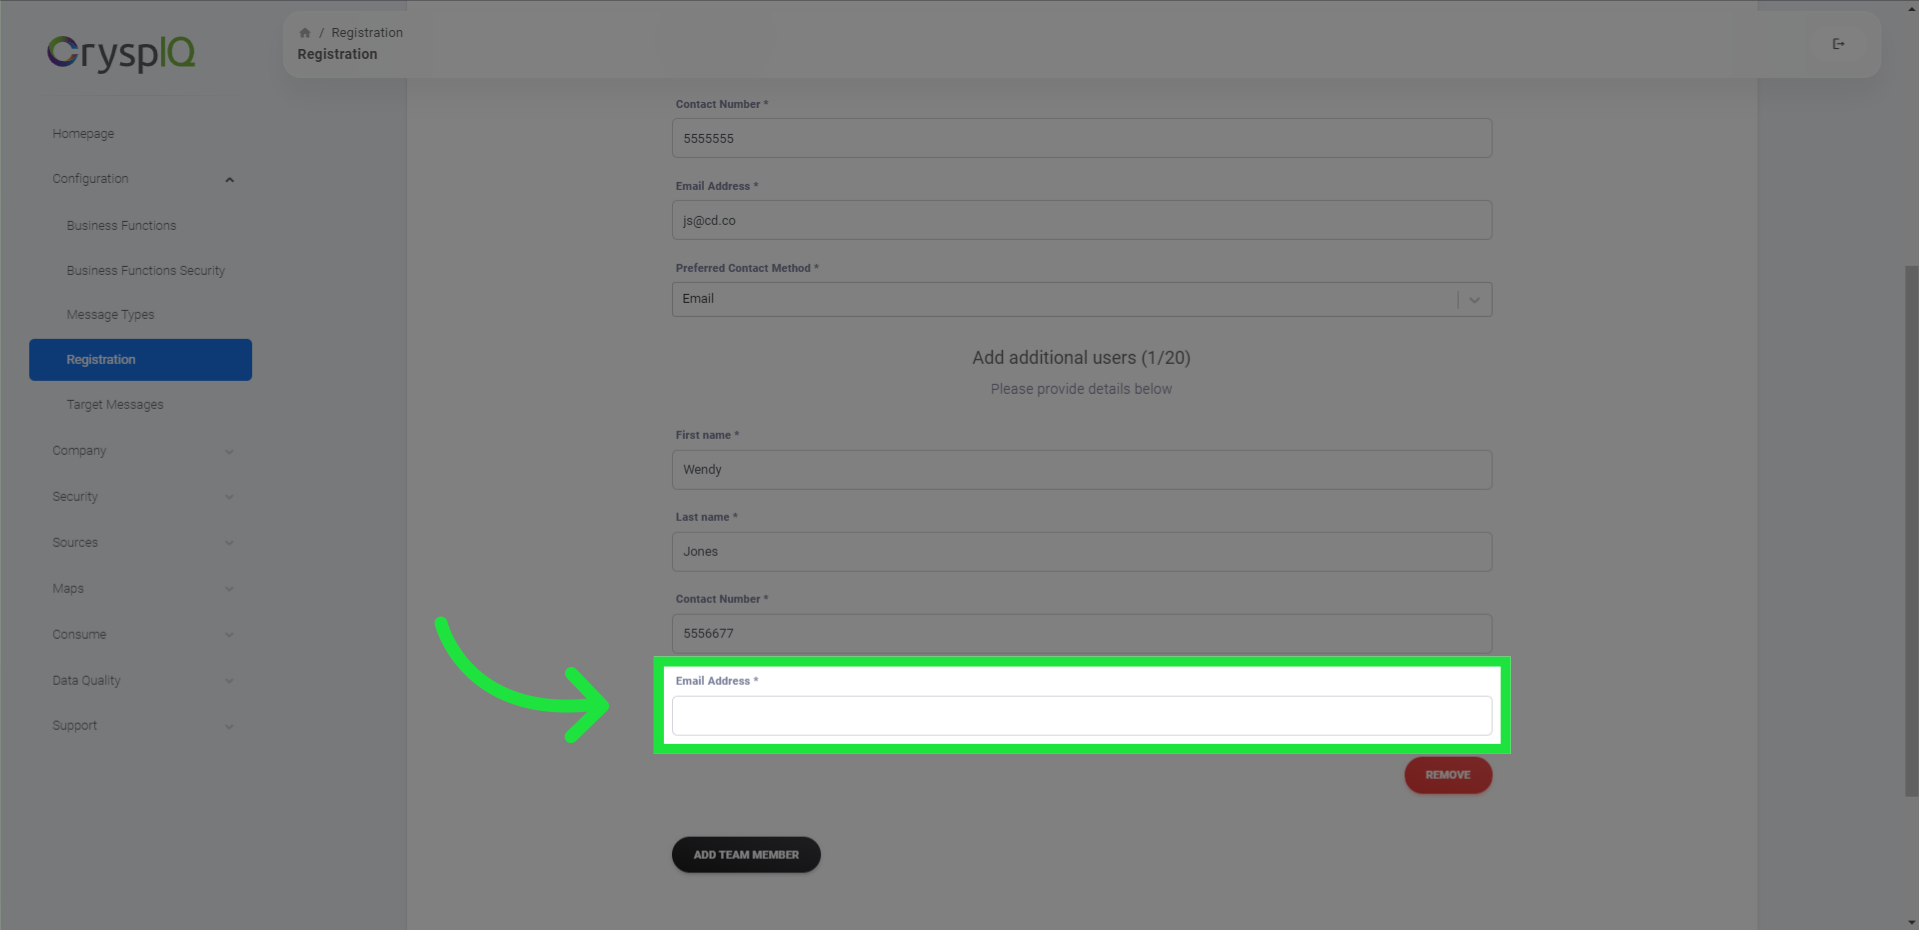
18. Enter an email address for each user
followed by an email address for each user
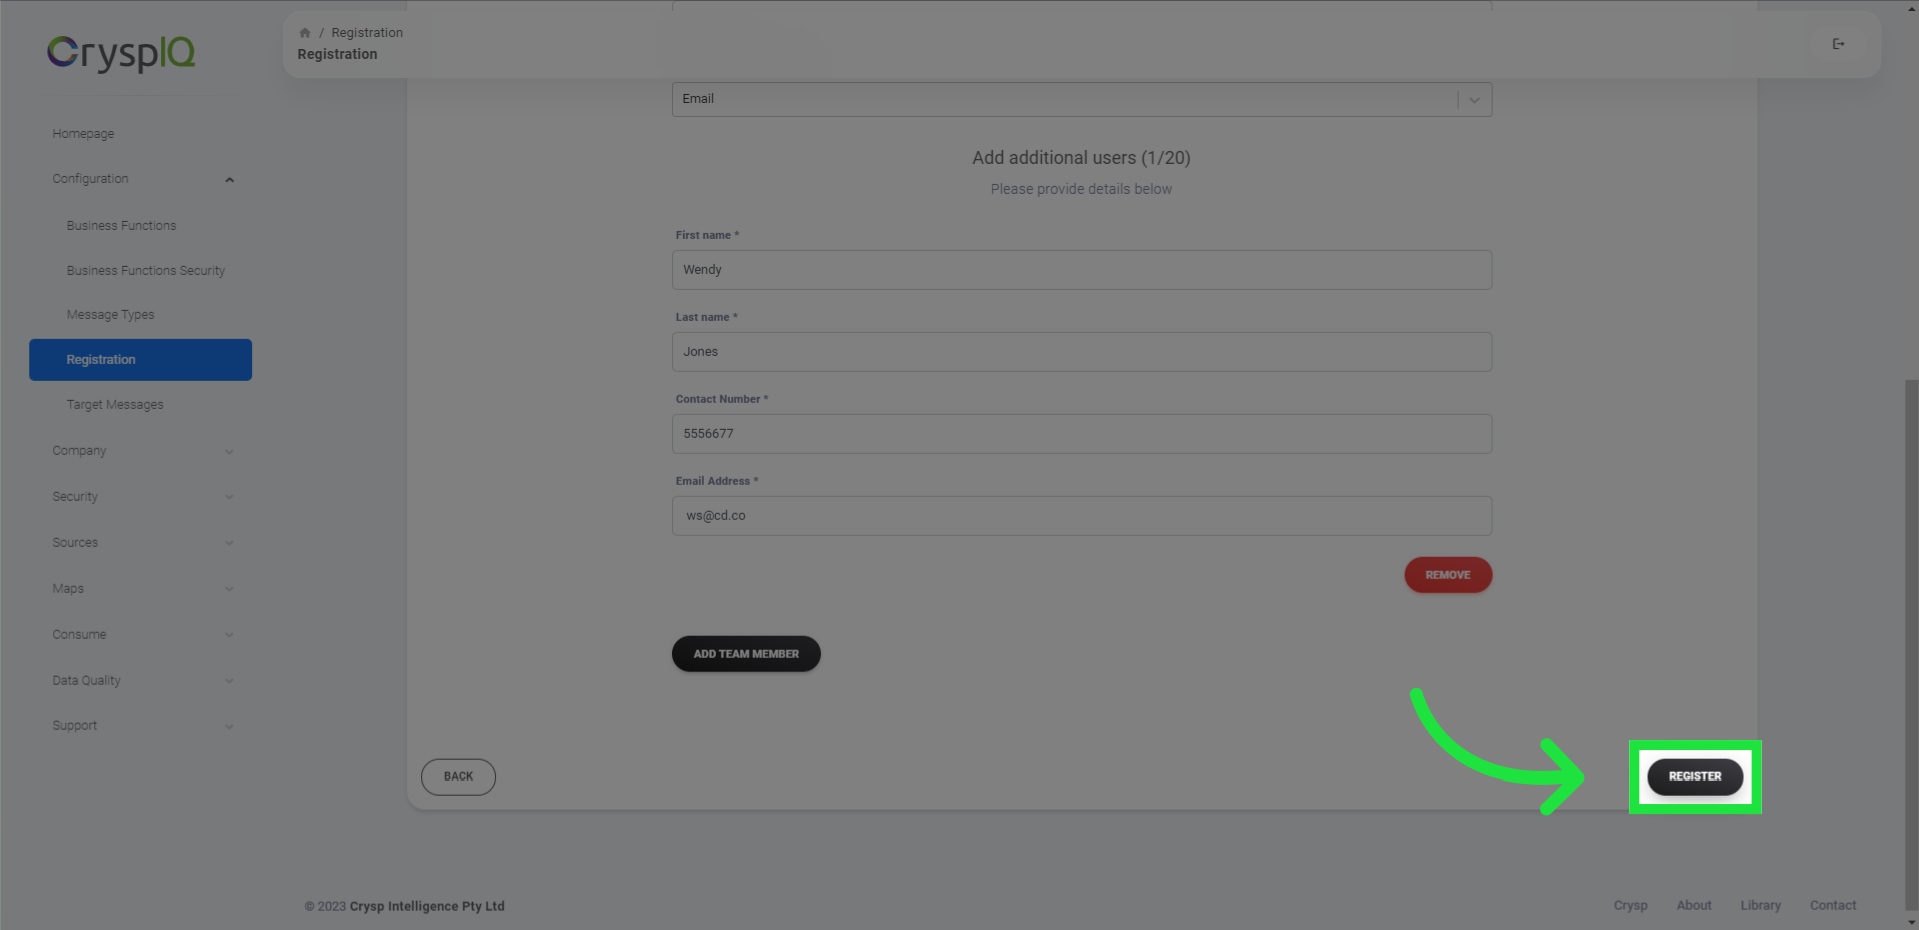
19. Click "register"
Now you can click on the "register" button to complete the registration process.
This guide covered the step-by-step process of registering your company on CryspIQ. From navigating the configuration settings to filling in the required information, you learned how to create your company profile and add team members. Now you can begin your journey in exploring further functionality.