Configure Contextual Security
CryspIQ® enables organisations to protect sensitive information at a column level using Contextual Security.
Contextual Security allows administrators to assign Microsoft Entra ID security groups to specific data elements within the enterprise data model. Users who are not members of the assigned security groups will be unable to view the protected values.
CryspIQ® leverages Microsoft SQL Server Dynamic Data Masking to ensure sensitive information remains protected while still allowing authorised users to access the data they require.
What is Contextual Security?
Contextual Security protects individual data elements within a business object.
Unlike standard security groups, which control access to entire datasets, Contextual Security controls access to specific fields and attributes.
Examples include:
| Data Element | Example |
|---|---|
| Employee Salary | Protected |
| Date of Birth | Protected |
| Tax File Number | Protected |
| Bank Account Number | Protected |
| Personal Email Address | Protected |
| Customer Mobile Number | Protected |
This ensures users only see sensitive information when authorised.
How Contextual Security Works
CryspIQ® applies security at the column level using Microsoft SQL Server Dynamic Data Masking.
By default:
- All contextual security fields are protected.
- No security groups are granted access.
- Sensitive values remain masked until access is explicitly assigned.
- Users without permission will see masked values.
Example
A protected field may display as:
XXXXX1234
instead of:
123451234
Only authorised users belonging to approved security groups can view the unmasked value.
Before You Start
Before configuring Contextual Security:
- Microsoft Entra ID security groups must already exist.
- Security groups must be configured within CryspIQ®.
- Business Objects and contextual attributes must already be available.
- You must have Data Administrator permissions.
Contextual Security follows a "deny by default" security model.
No users receive access until a security group is explicitly assigned.
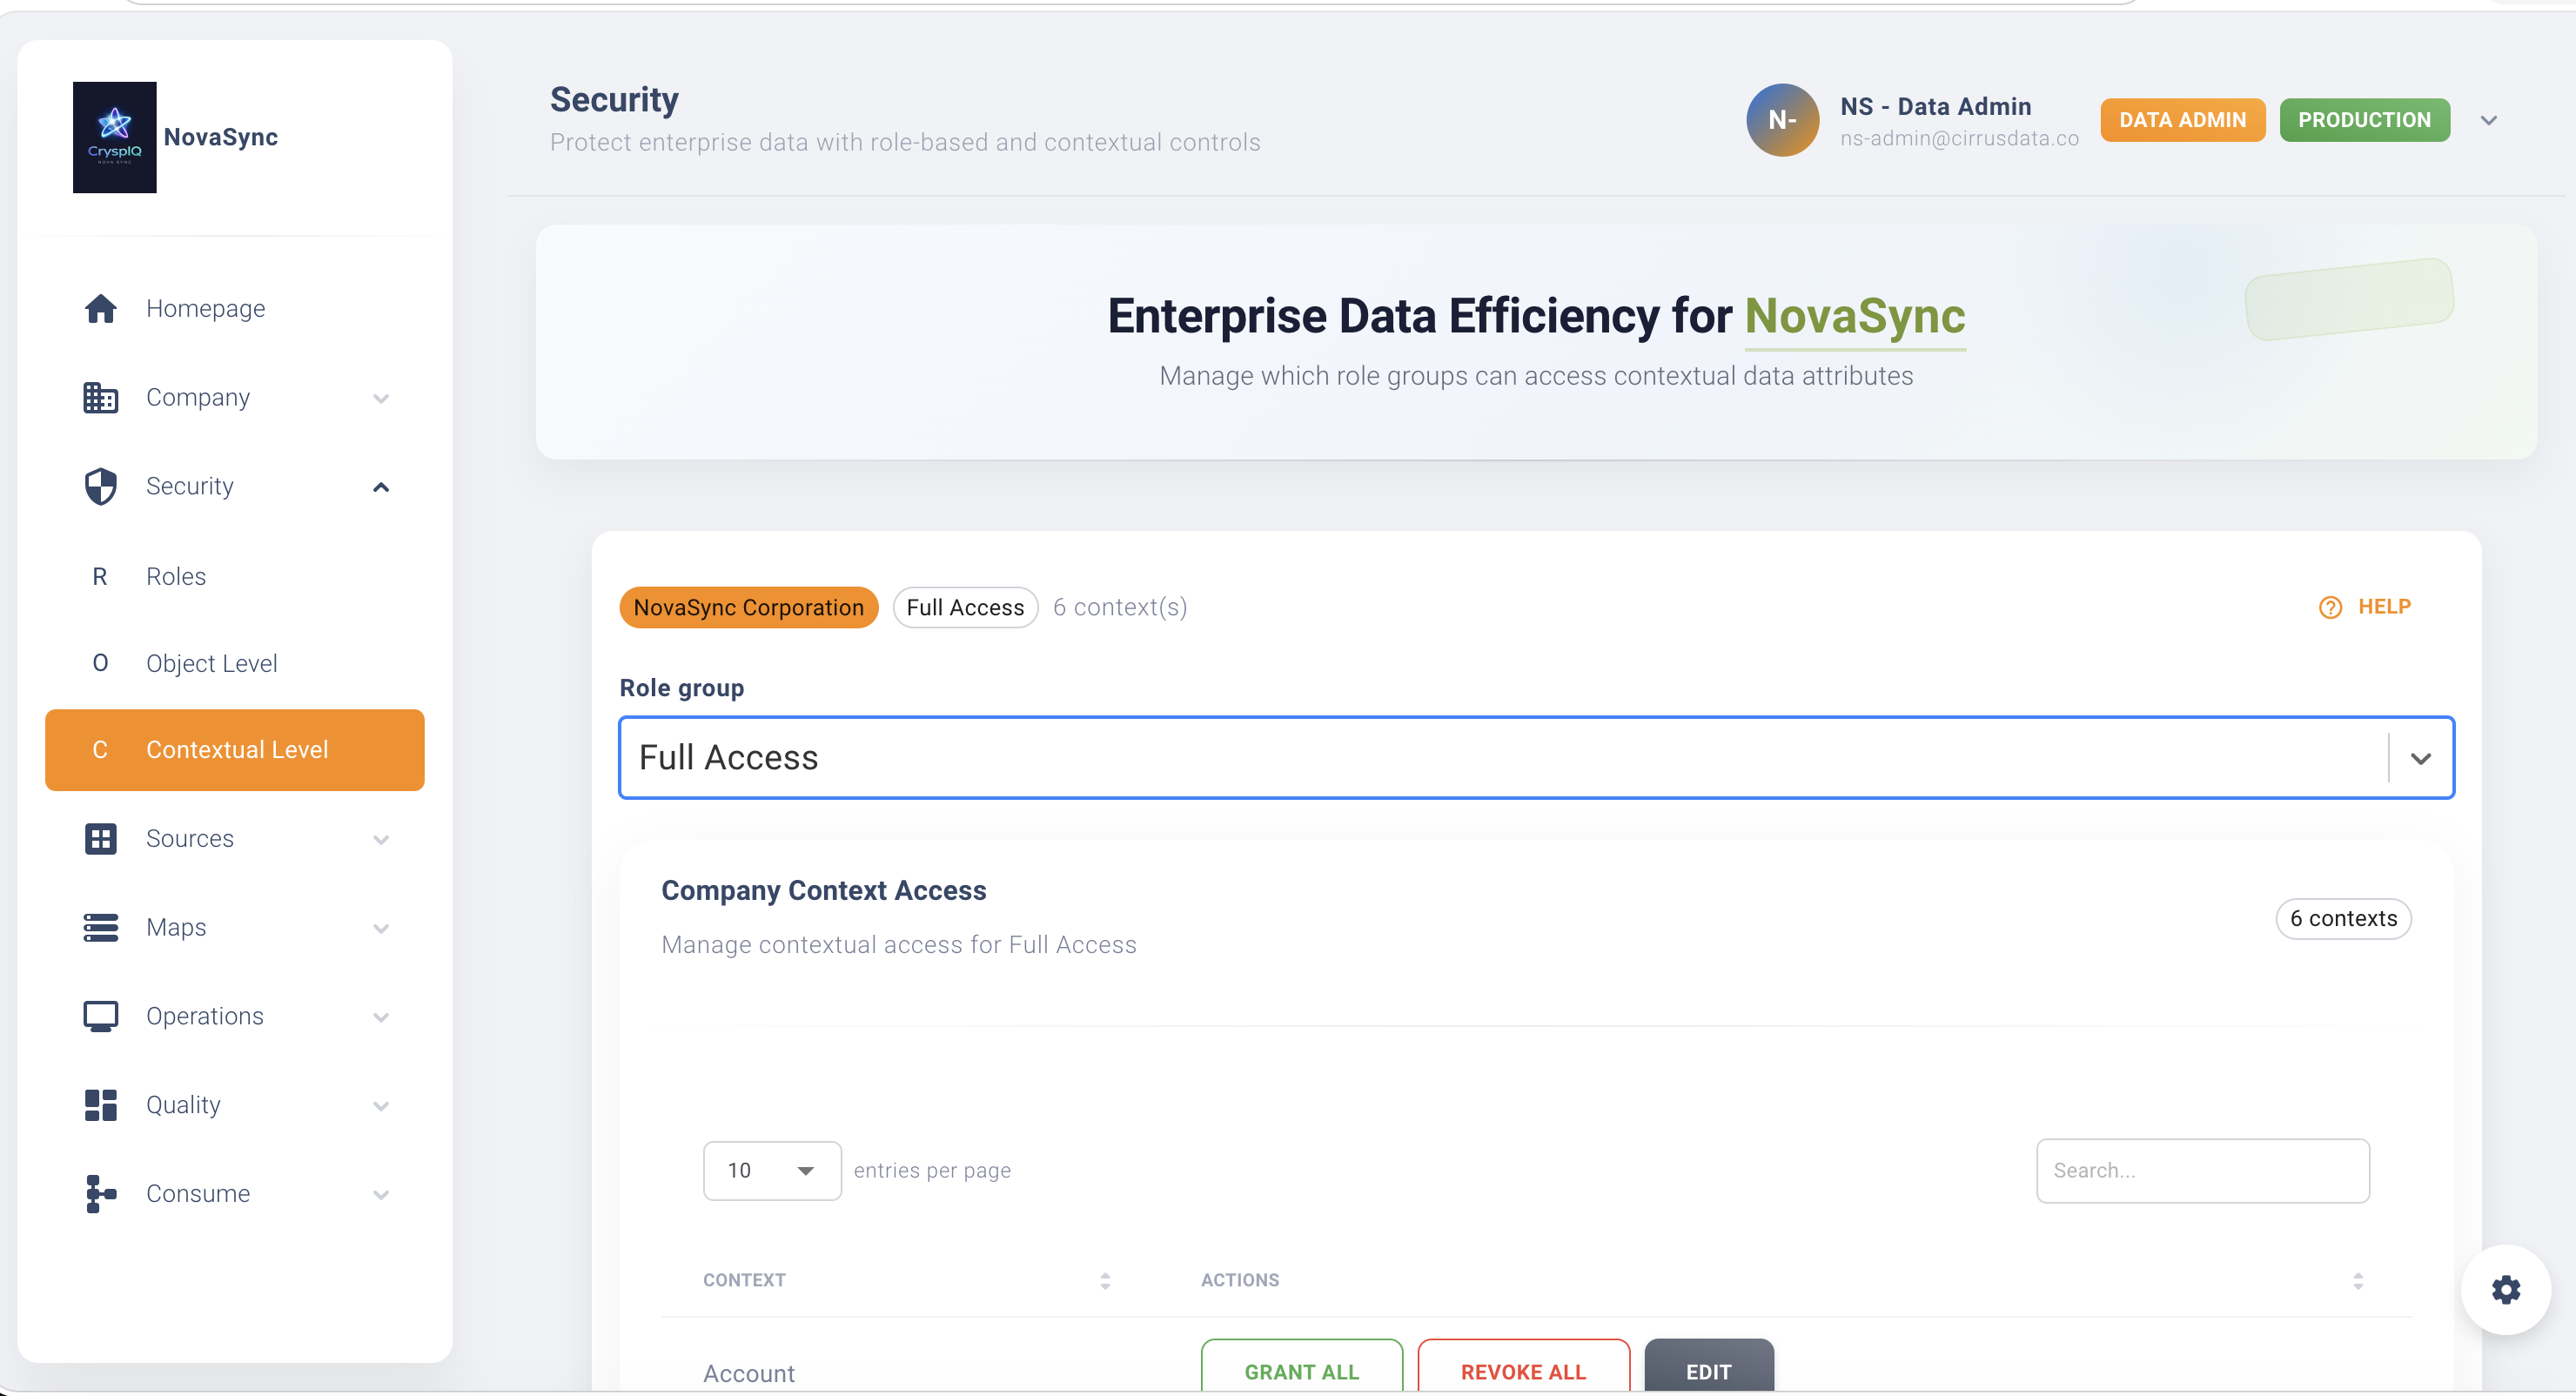
Navigate to Contextual Security
From the main menu navigate to:
Security → Contextual Security
The Contextual Security page displays all contextual attributes currently available within the CryspIQ® enterprise data model.
Understanding Contextual Attributes
Contextual attributes are data elements that provide additional business meaning.
Examples include:
| Business Object | Contextual Attribute |
|---|---|
| Employee | Date of Birth |
| Employee | Personal Email |
| Customer | Mobile Number |
| Customer | Address |
These attributes can be protected independently from the rest of the record.
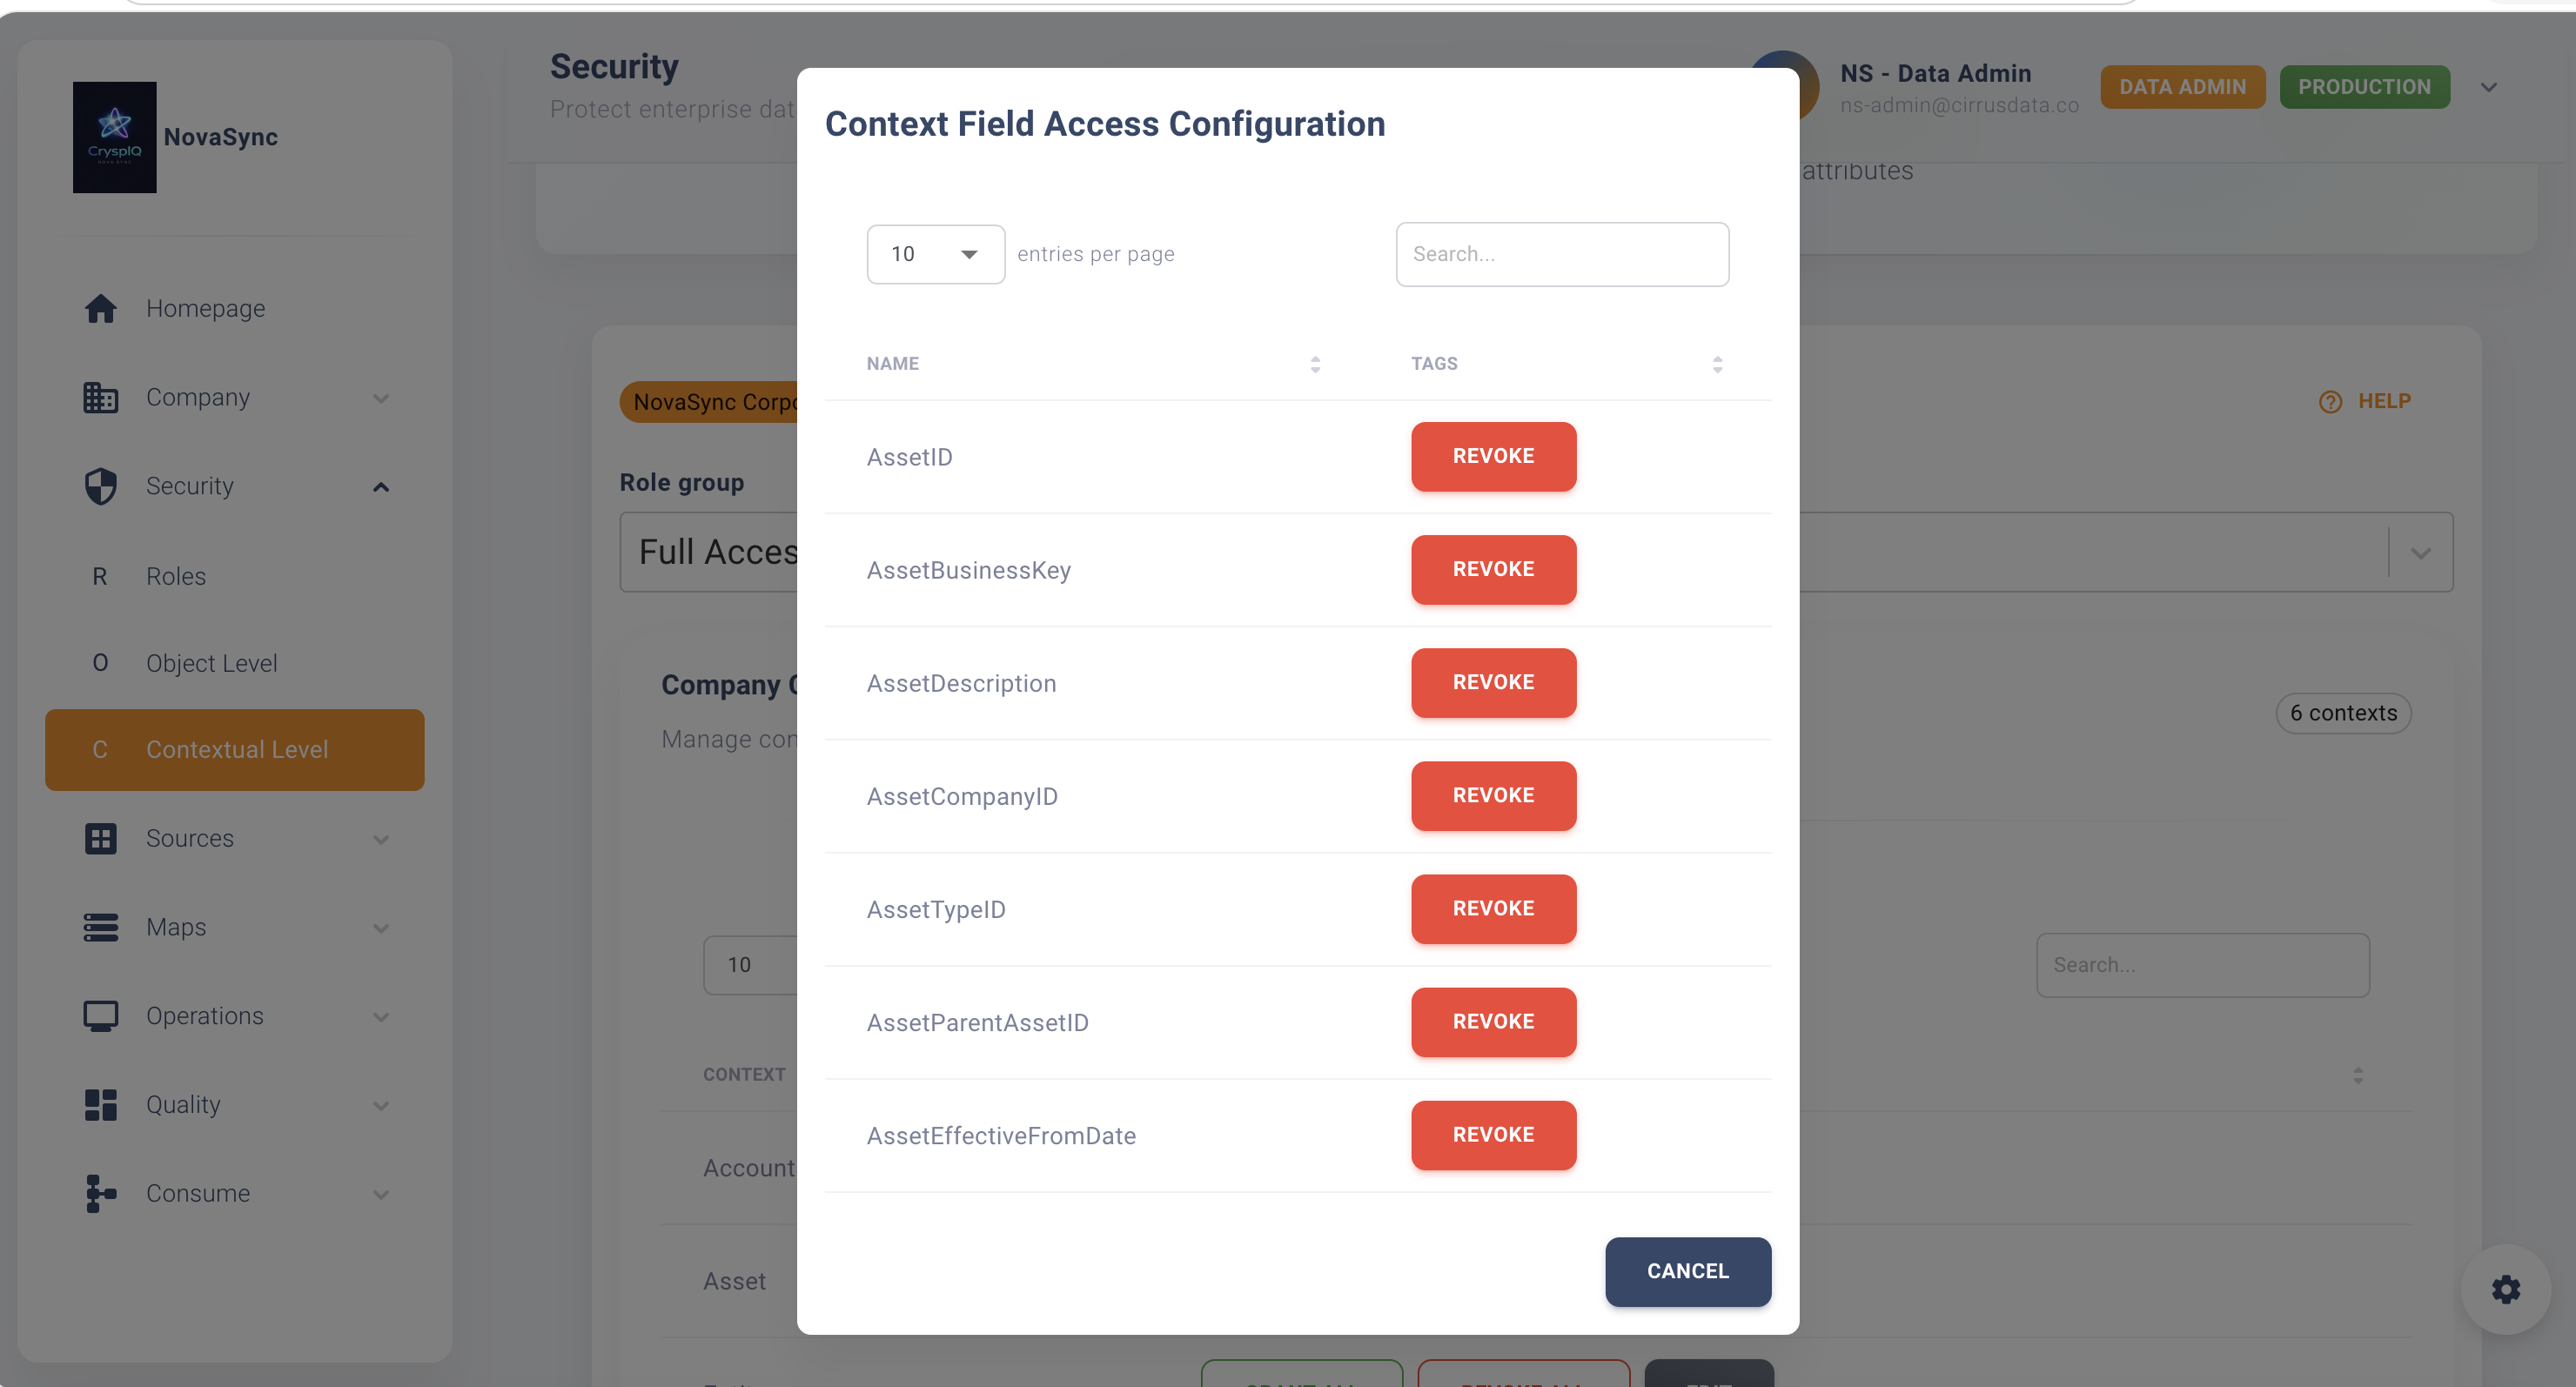
Assign Security Groups
To grant access:
- Open Security → Contextual Security.
- Locate the contextual attribute.
- Select Edit Security.
- Choose the Microsoft Entra ID security group.
- Save the configuration.
Only users belonging to the selected security groups will be able to view the protected value.
Example Configuration
Employee Salary
| Security Group | Access |
|---|---|
| HR_USERS | Allowed |
| PAYROLL_USERS | Allowed |
| EXECUTIVE_USERS | Allowed |
| OPERATIONS_USERS | Denied |
Customer Credit Rating
| Security Group | Access |
|---|---|
| CREDIT_TEAM | Allowed |
| SALES_USERS | Denied |
| CUSTOMER_SERVICE | Denied |
This approach ensures sensitive information is only available to authorised personnel.
Review Existing Security Assignments
To review access:
- Open Security → Contextual Security.
- Select the contextual attribute.
- Review assigned security groups.
Regular reviews help maintain compliance and ensure access remains appropriate.
Best Practices
Protect Sensitive Information
Apply Contextual Security to:
- Personally Identifiable Information (PII)
- Financial information
- Payroll information
- Customer confidential information
- Regulatory reporting information
Use Business-Based Security Groups
Assign access using business roles.
Good examples:
HR_USERS
PAYROLL_USERS
EXECUTIVE_USERS
FINANCE_USERS
Avoid assigning permissions to individual users.
Apply Least Privilege
Only grant access when there is a genuine business requirement.
If a user does not need to view sensitive information, do not assign access.
Review Access Regularly
Review contextual security assignments periodically to ensure access remains current and compliant.
Troubleshooting
User Sees Masked Values
Check:
- The user belongs to the correct Microsoft Entra ID security group.
- The security group has been assigned to the contextual attribute.
- The user has logged out and back in after changes were made.
User Cannot See Data
Confirm:
- The user has access to the business object.
- The user has access to the contextual attribute.
- Security group membership is correct.
Incorrect Users Can See Sensitive Data
Immediately review:
- Assigned security groups.
- Contextual security configuration.
- Microsoft Entra ID group membership.
Follow organisational security and compliance procedures where required.
Security Model Summary
| Security Layer | Purpose |
|---|---|
| Functional Roles | Controls what screens and features a user can access |
| Security Groups | Controls access to business objects and datasets |
| Contextual Security | Controls access to sensitive column-level data |
| SQL Server Data Masking | Protects sensitive values when access is denied |
Together these layers provide comprehensive protection for enterprise information within CryspIQ®.
Related Guides
Next Steps
After configuring Contextual Security:
- Verify security group membership.
- Test access using representative user accounts.
- Confirm sensitive fields are masked for unauthorised users.
- Document security ownership and review schedules.
CryspIQ® will automatically enforce contextual security whenever data is queried, viewed or consumed.